Why pet photos come out blurry
Blurry pet photographs have three separate causes that look identical until you enlarge them: the animal moved, the camera moved, or the camera focused on the wrong thing. Ask for a shorter exposure through the action setting, tap the eyes before you take the picture, and add light, because more light is what makes a short exposure possible in the first place.
In short
- Enlarge the photograph first. Camera shake, subject movement and a missed focus point look identical until you do.
- The action setting is the shutter fix; tapping the eyes before each frame is the focus fix.
- Grain is a texture and blur is missing information, so accept the grain that a shorter exposure costs you.
- More light makes all three faults easier, and the built-in flash is not the way to get it.
- Shoot a burst, keep the frame where the near eye is hard-edged, and delete the rest the same day.
Three faults that look alike on a small screen
The first thing to do with a soft photograph is enlarge it and work out which fault you are looking at, because the three common causes have three different fixes and guessing wastes an afternoon. On a phone screen at normal size all three read as the same vague disappointment.
If everything is smeared in the same direction, including the floor and the skirting board, the camera moved. If the animal is smeared and the background is crisp, the animal moved. If one part of the animal is sharp and another part is not, the focus landed somewhere you did not choose, which is usually the ears or the shoulder rather than the eyes.
There is a fourth thing that is not blur at all and gets blamed on blur constantly. In dim rooms a phone smooths away the speckled noise it recorded, and smoothing removes fine detail, so fur ends up looking like wax. Nothing about focus or shutter will fix that one; only more light will.
| What you see | What caused it | What to change |
|---|---|---|
| The whole frame is soft, floor and wall included | The camera moved while the shutter was open | Brace against something solid, or move somewhere brighter so the exposure gets shorter |
| The animal is smeared, the background is sharp | The animal moved while the shutter was open | Ask for a shorter exposure, which is what the action or sports setting does |
| The ears are sharp and the eyes are not | The camera focused on the wrong part of the animal | Tap the eyes before each frame and take it again if the head moves |
| Everything is sharp and the fur still looks like wax | Not blur — noise smoothing in a dim room | Add light. No setting recovers detail the camera never recorded |
The first setting: ask for a shorter exposure
A camera left alone indoors will trade shutter speed for brightness, because a longer exposure is the cheapest way to make a dim room look normal. That trade is fine for a bowl of fruit and hopeless for a tail. Everything you can do about motion comes down to taking that decision away from it.
On a phone the plainest way is the action or sports setting, which biases the whole exposure towards a short shutter and accepts a noisier picture in exchange. On anything with manual control, set the shutter yourself: fast enough to stop a walking dog is not fast enough to stop a dog shaking water out of its coat, and the only reliable way to learn the difference is to look at your own frames enlarged.
The trade is real and worth stating plainly. A shorter exposure means less light reaches the sensor, so the picture gets grainier. Grain is a texture; blur is missing information. Take the grain.
The second setting: tell it where to focus
Left to itself a camera focuses on whatever is closest, largest or most contrasty, and on a dog coming towards you that is the nose. A nose in perfect focus with soft eyes behind it is one of the most common pet photographs there is, and it always looks like a mistake because the eyes are where a viewer looks first.
Tap the eyes before every frame rather than once at the start, because focus set on a stationary animal is wrong the moment they lean forward. If your camera offers continuous focus or animal eye detection, turn it on and let it track; if it does not, take the picture at the moment the head is still rather than at the moment it is moving towards you.
Depth of field makes this stricter than people expect. Close to a small animal, with a wide aperture, the sharp zone can be shallower than the length of a muzzle, which means the nose and the eyes cannot both be sharp. Back off slightly and take a step in with your feet rather than with the lens.
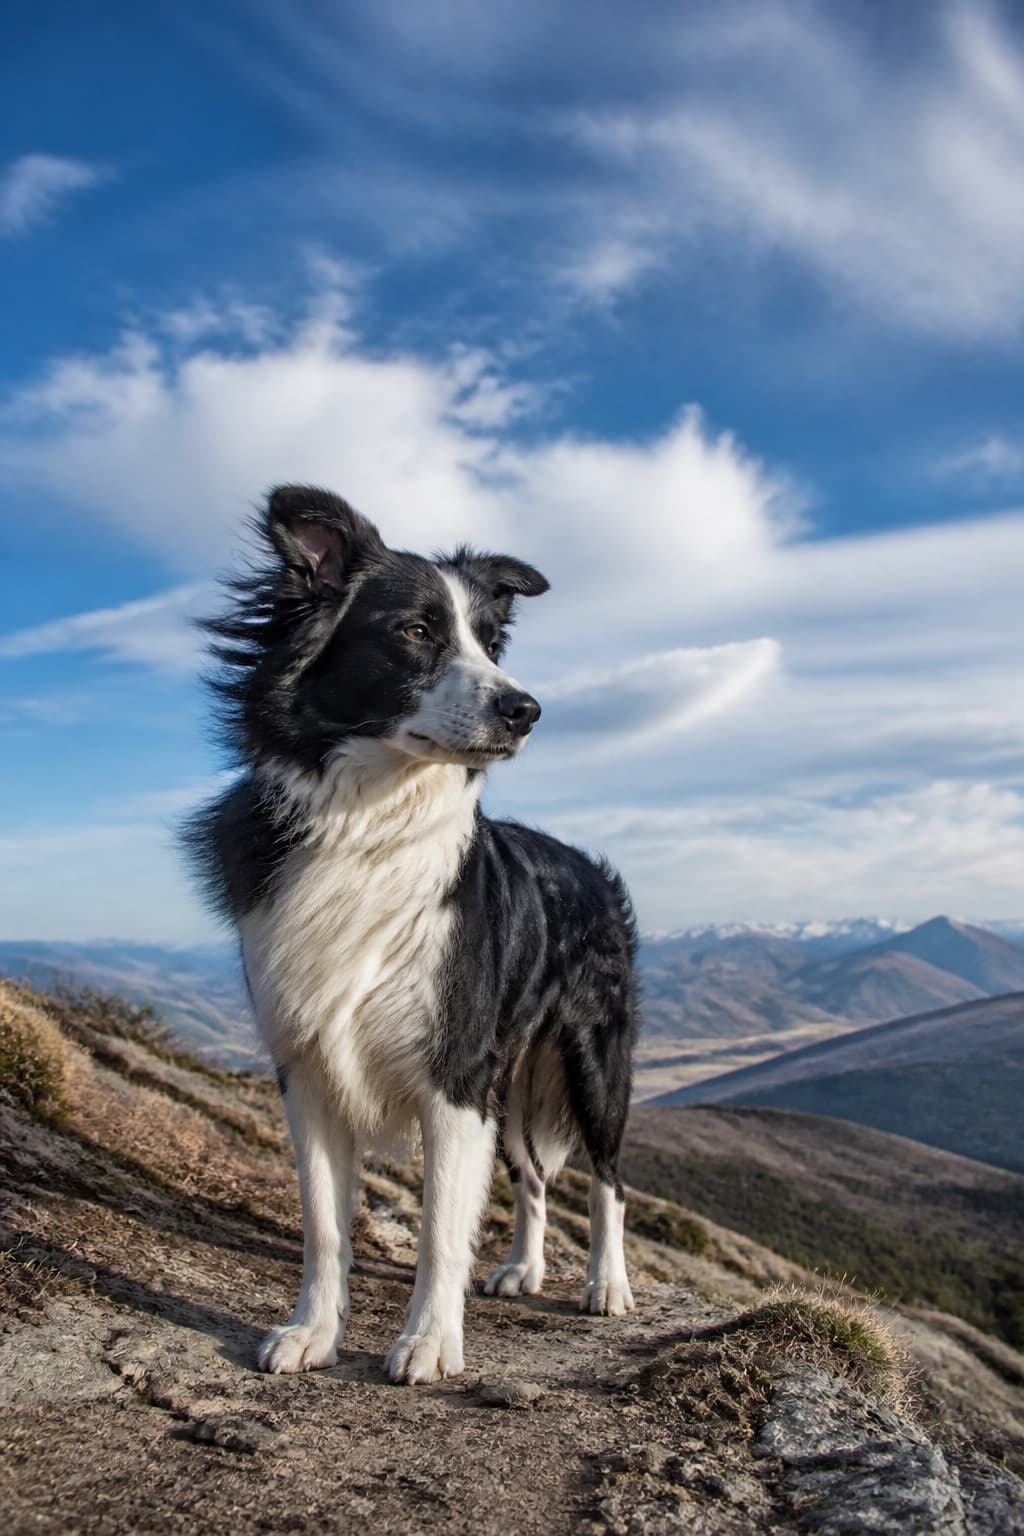
A photograph that depends entirely on the shutter: wind moving through a coat is only worth showing if the eyes underneath it are stopped dead.
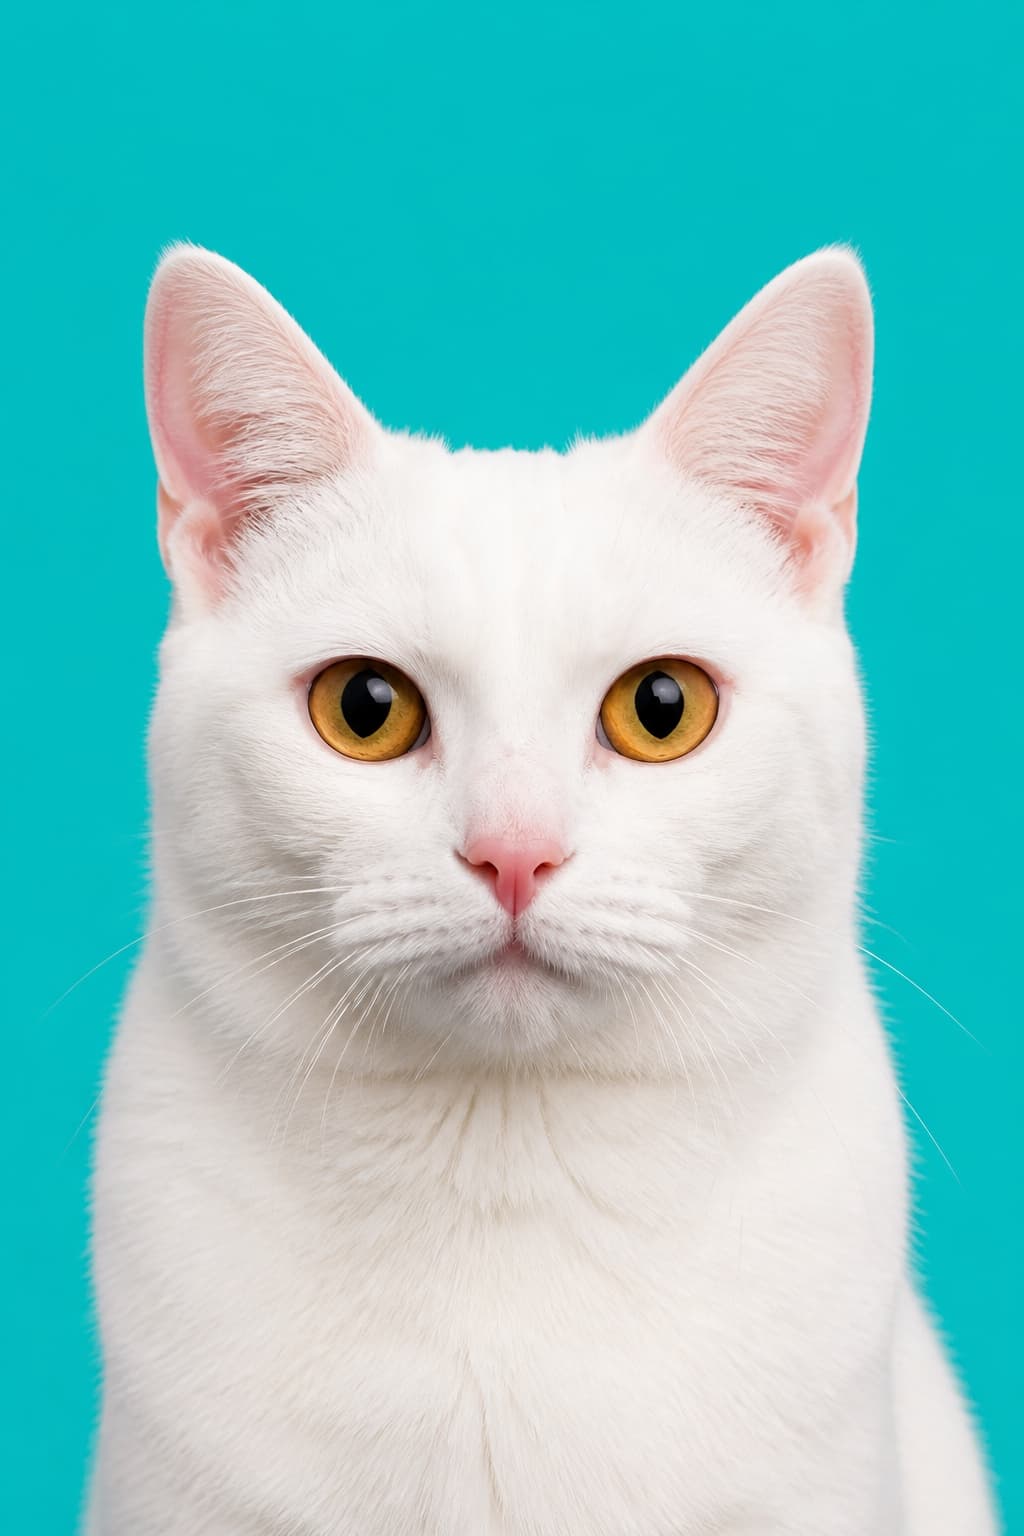
Bright light and a short exposure are the same decision. The crisp edge along the muzzle here exists because there was enough light to close the shutter quickly.
Created with PetPhotos from a described animal, not a customer's photos. Not stock photography.
More light is the fix that fixes everything
Every fault above gets easier in brighter light, because light is what buys a short exposure. Move to the window, go outside, wait for the middle of the day, open the curtains fully. This sounds too simple to be the main answer, and it is nonetheless the main answer, which is why an outdoor photograph on an overcast afternoon is usually sharper than an indoor one taken with far more care.
What does not help is the built-in flash. It freezes motion, so people reach for it, but it does so by putting hard, flat light exactly where it does the coat the least good, and it produces the eye glow that indoor animal photographs are already prone to. There is more on working with the light a room already has in cat photos at home without a flash.
The other half of this problem is the animal rather than the camera. A dog who has been asked to hold still for a minute is a dog who is about to move, and the fix there is behavioural: see how to get a dog to look at the camera. Both halves are covered together in the guide to photographing your pet.
Take a burst, keep one
The cheapest insurance against all three faults is volume. Hold the shutter down through the moment rather than trying to catch it, and one frame in the middle of the burst will usually be the one where the head was still, the camera was steady and the focus had settled. This is not a lack of skill; it is how most professional animal photography works.
Then be ruthless afterwards, on a screen larger than the one you took the pictures on. Enlarge each candidate to the eyes and keep the frames where the near eye has a hard edge and a small reflection in it. Delete the rest the same day, before a folder of nearly-good frames becomes something nobody ever opens again.
Sharp eyes are also the difference between a photograph that anything downstream can use and one that nothing can rescue, which is why what we ask you to upload is a small set of clean, well-focused pictures rather than a large set of pretty ones. A blurred original stays blurred no matter what is made from it.