Photographing your pet
Good pet photographs are mostly light and patience. Put the animal near a large window with the light coming from the side, get the camera down to their eye level, and set the picture up before you make the noise that buys you their attention. Expose for the coat rather than the room — darker for a pale animal, brighter for a black one. Then take far more frames than you think you need.
In short
- Soft light from a large window, with the camera at the animal's eye level, does more for a pet photograph than any equipment you can buy.
- Set the picture up completely before you make the noise. You get about half a second of attention per noise, and a noise works once.
- Overrule the meter for a strong coat colour: darker for black fur, brighter for white, and by more than feels right in both directions.
- Focus on the near eye, never the nose. A photograph of an animal is sharp if the eyes are sharp and soft if they are not.
- Take many, keep few, sort them the same day, and keep the full-size originals somewhere that is not only your phone.
01
Light, and why it decides almost everything
Where to stand, what a window gives you for nothing, and why the ceiling bulb is the problem.
Find the biggest soft light in the house
Almost every pet photograph that looks good was taken in soft light, and almost every one that looks flat was taken under a ceiling bulb. The size of the light source relative to the animal is what makes a shadow soft, which is why a window a metre across is a better light than any lamp you own, and why a bright overcast sky is the best light most people ever get for free.
The practical version: put the animal within a stride or two of the largest window in the house, and stand so the window is behind you or a little to one side. Move them closer to it and the light gets more contrasty; move them further into the room and it gets duller and dimmer. There is a spot in every room where it is right, and you find it by moving the animal, not by changing a setting.
Direct sun through the glass is the exception. It arrives as a hard bright patch that makes a pale coat glare and a dark coat go to solid black, and it moves while you are working. If that is what you have, hang a thin white curtain or a sheet across the window. The sheet turns the sun into a window-sized soft light, and the picture improves before you have changed anything else.
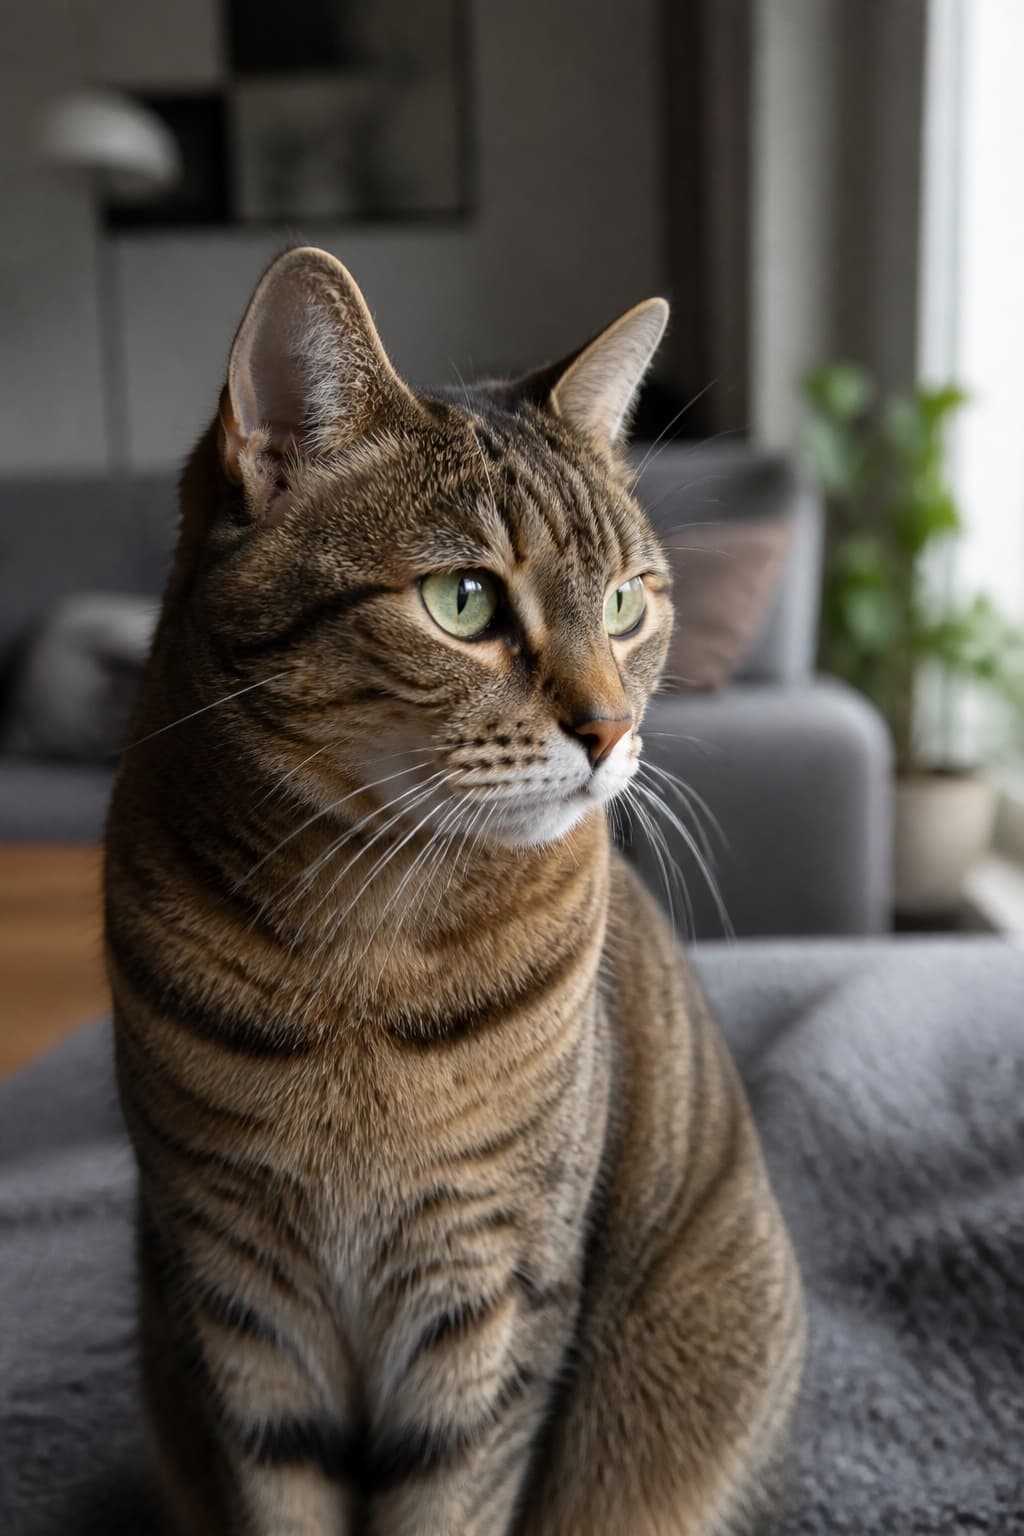
Light arriving from one side, close to the glass: the far side of the face stays in shadow, and that shadow is what gives a coat any shape at all.
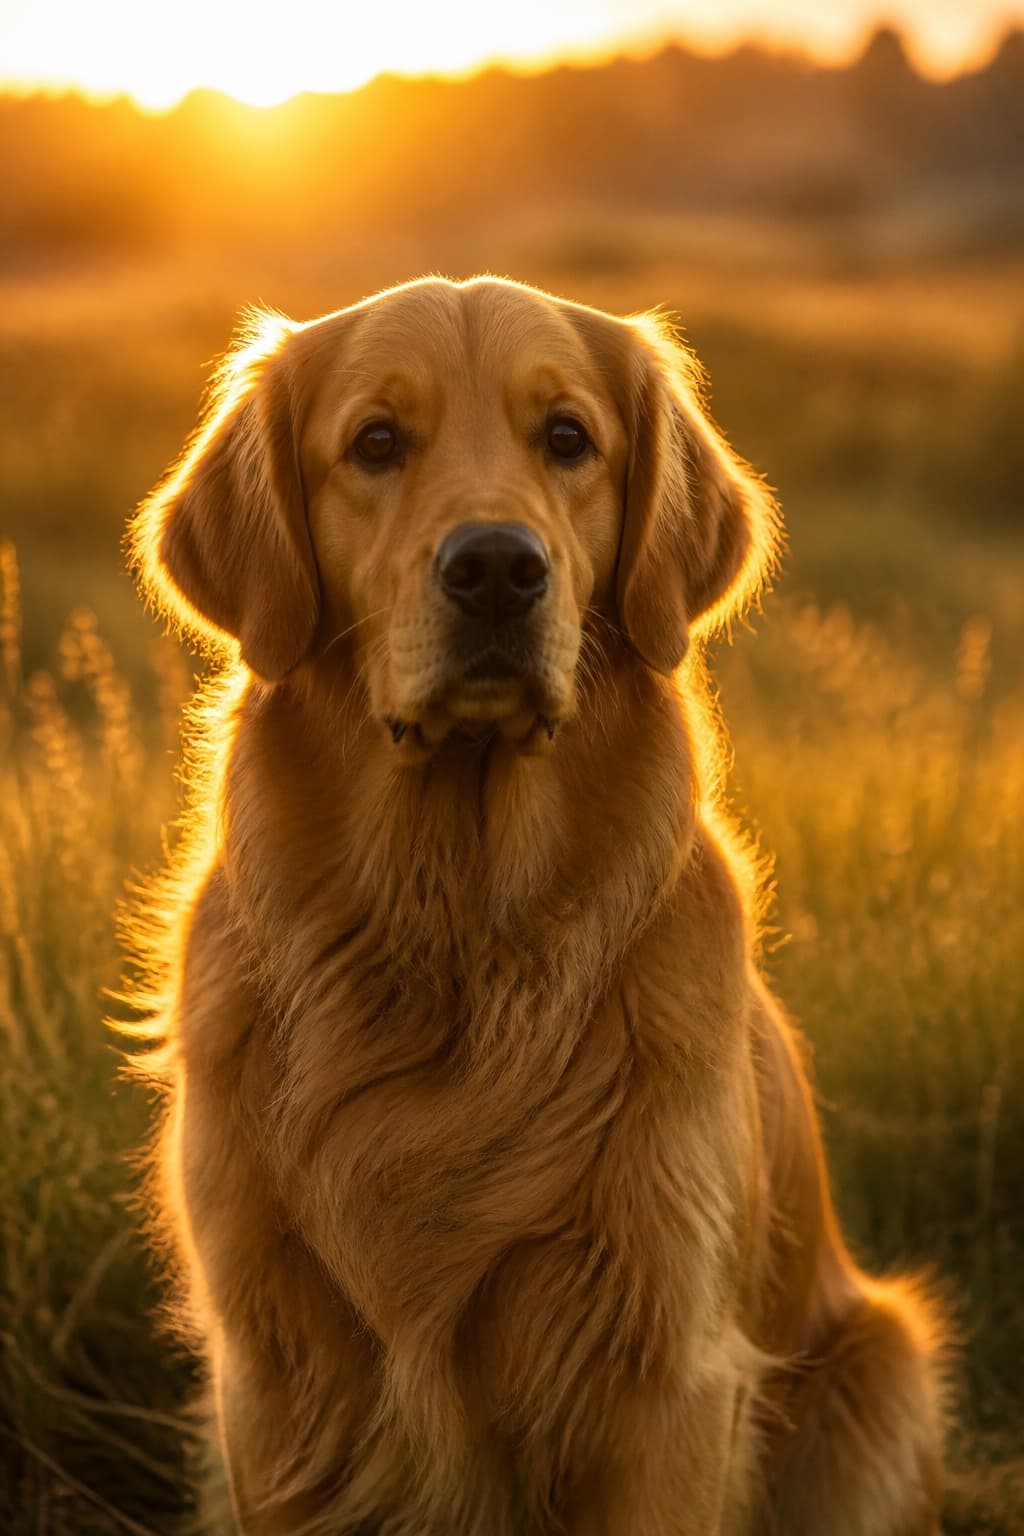
The same animal lit from behind rather than in front. The coat edge separates from the background on its own, but the face then needs something bouncing back into it.
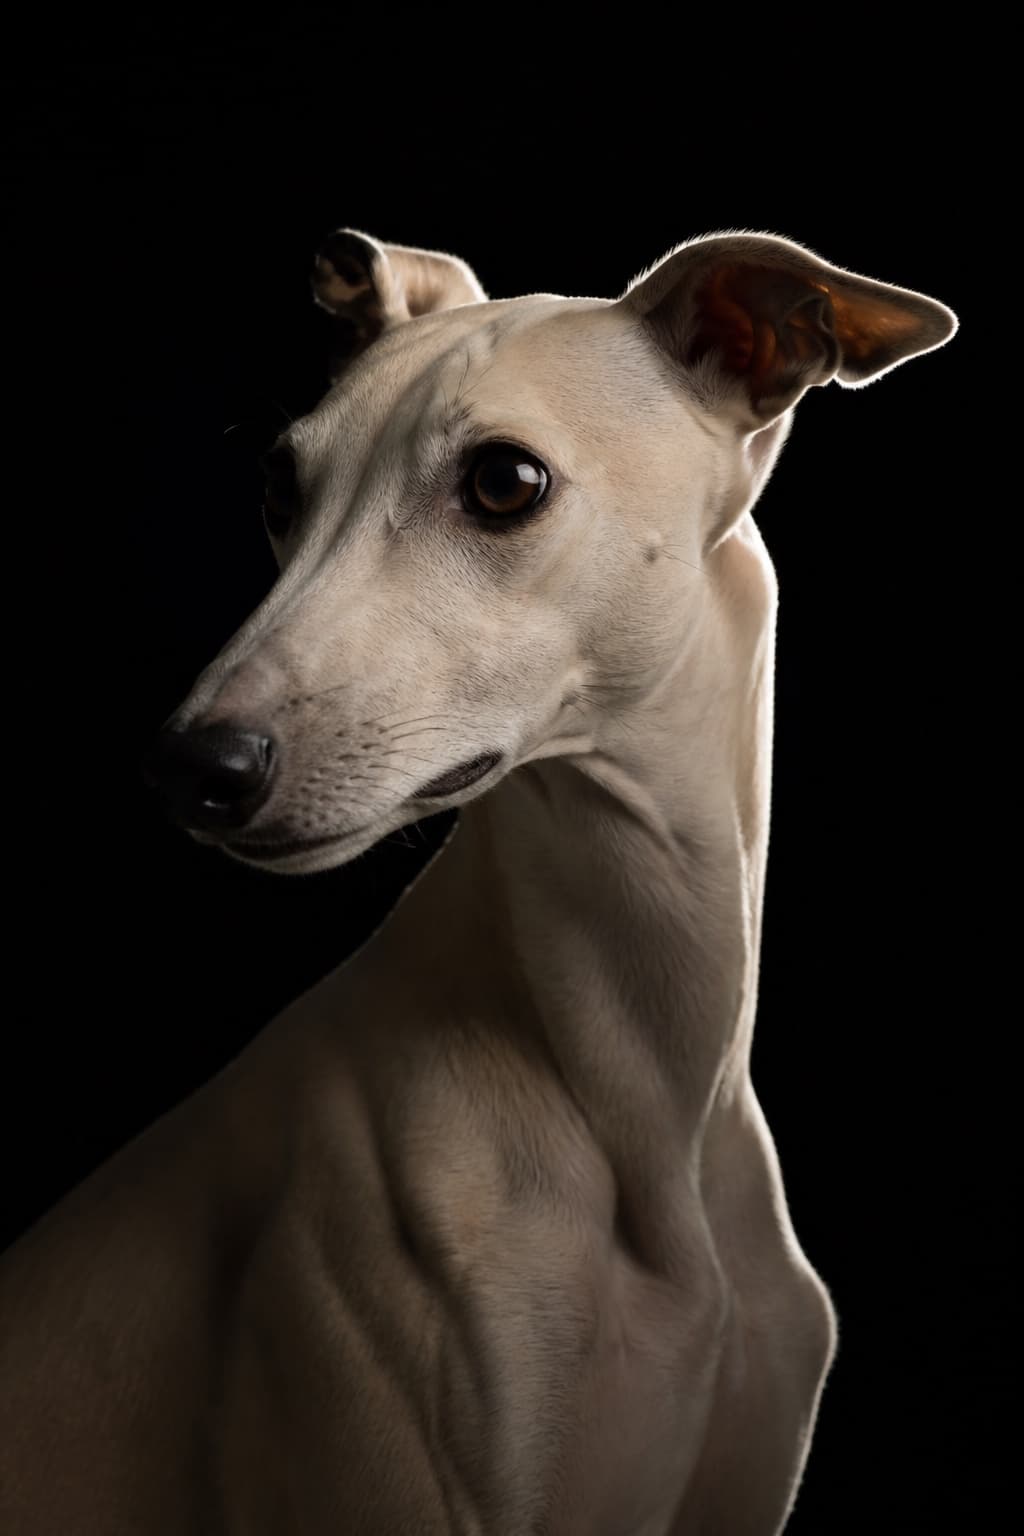
One small light in a dark room is the opposite bet: nearly everything is thrown away so the outline of the head has to do the work by itself.
Created with PetPhotos from a described animal, not a customer's photos. Not stock photography.
What a ceiling light does to a face made of fur
Overhead light comes down from above, so it lands on the top of the head and the bridge of the nose and leaves the eyes in shadow. On a person that is unflattering. On an animal whose eyes are already set back under a brow and often ringed with dark fur, it removes them from the picture altogether — and the eyes are what make a portrait a portrait rather than a photograph of a coat.
The second problem is colour. Household bulbs run warm, daylight runs cool, and a room lit by both at once gives you a picture in which the animal's near side and far side are different colours. Nothing fixes that afterwards without also shifting the coat colour, which is the one thing on a pet photograph you cannot get wrong. Switch the room lights off and use the window, even when the window feels too dim.
If the window really is too dim — a north-facing room in winter, an evening — the honest answer is to wait until tomorrow morning rather than fight it. A photograph taken in poor light and rescued afterwards looks rescued. Light is the only ingredient in this whole guide that cannot be substituted with more effort somewhere else.
Flash, and why it usually makes things worse indoors
A flash on the camera fires from exactly where you are standing, which produces the flattest light available and, in an animal, a pair of glowing eyes. Many pets have a reflective layer behind the retina that gives them their night vision and gives your photograph two green or yellow discs where the eyes should be. There is no convincing way to remove that afterwards, because there is no eye underneath it to restore.
There is also the animal to consider. A sudden bright light at close range is startling to something that was already unsure why you were pointing an object at it, and the frame after the flash is usually a picture of them leaving. An indoor cat in a dim flat is the hardest version of this, and there is a longer answer to it here than this chapter has room for. The short form is to move the animal to the light rather than carrying light to the animal.
02
Getting attention, and the half-second you get
Set the picture up first, spend the noise second, and accept that you only get one of each.
Everything is ready before you make a sound
The single biggest difference between people who get good pet photographs and people who do not is the order they do things in. An animal gives you a clean, forward, ears-up look for about half a second after an unfamiliar noise. If you are still finding the right position when it happens, you have spent it. Get down, frame the empty spot where they already are, set the focus at that distance, and only then make the noise.
This also means deciding in advance what the photograph is. A head-and-shoulders portrait and a whole-animal-on-the-sofa picture are different distances and different framings, and switching between them halfway through costs attention you cannot buy back. Pick one, get it, then set up again for the other while the animal is doing something else.
A noise works once
Novelty is the entire mechanism. A squeak, a whistle, a word they have never heard in that tone, a fingernail dragged across a cardboard box — any of them lifts the ears the first time, and about half of them work a second time. By the fourth repetition you are photographing an animal wondering when you will stop. Ration them: hold three or four in reserve and change to a new one every few frames rather than repeating your best one until it dies.
A second person is worth more than any equipment named anywhere in this guide. They stand beside or just above the camera, make the noise and hold the toy; you stay still and take the picture. The look you get is aimed at them, which is close enough to the lens to read as eye contact, and nobody is doing two things at once. Getting a dog to hold that look for longer than a moment has more to it than the noise, but the noise is where it starts.
- A squeaky toy held just above the camera, squeezed once and then put away.
- A short whistle, or a kissing noise made against the back of your hand.
- A familiar word said in an unfamiliar tone — a whispered name beats a shouted one.
- Crinkling paper, or a fingernail dragged once across cardboard.
- Silence, after a run of noise. A room that suddenly goes quiet gets looked at.
Cats, and animals that will not be called
Everything above is largely dog advice. A cat looks at a novel sound once, decides it is not important, and then avoids the thing that made it. The method that works instead is to be boring for long enough that they stop tracking you: settle somewhere with the light in front of you, stay put, and let them return to whatever they were doing. The photograph worth having is usually the one they were going to give you anyway.
Food is a useful lure with almost every animal and a slightly dangerous one, because the treat easiest to reach for is often something out of your own kitchen. If you are going to use food to hold a position, use their own, and check anything else against a veterinary poison-control list first rather than afterwards. No photograph is worth a phone call to an emergency vet.
Sessions are shorter than you think. Ten minutes is usually the whole of it for a young animal, and less for an old one or one in any discomfort. The frames after that point are worse, and the animal is less willing the next time you pick the camera up, which makes a long session a loan taken out against the following one.
03
Coat colour, and why the camera gets it wrong
Why a black dog comes out grey, why a white cat comes out dull, and the one control that fixes both.
The camera is trying to make everything middle grey
A camera's meter has no idea what it is looking at. It measures the light coming back from the scene and picks an exposure that puts the average somewhere in the middle — a reasonable guess for a street or a room, and precisely wrong for an animal filling the frame with one strong tone. Point it at a black dog and it decides the picture is too dark and brightens it, and you get a dark grey dog. Point it at a white cat and it does the reverse.
Once you know the failure you can see it everywhere. The photograph does not look wrong so much as washed: the coat has no depth, black loses its blackness, and the fur detail that made the animal look like themselves has been lifted into a flat middling grey. Nothing about the light was at fault. The camera simply answered a question nobody had asked it.
It is worth seeing the case where the guess happens to be right, because it explains why the failure surprises people. A mid-brown dog is already close to the tone the meter is aiming for, so the meter and the truth agree and nothing needs doing. Owners of tan and ginger animals therefore never meet this problem, and are the ones most likely to tell you that you are overthinking it.
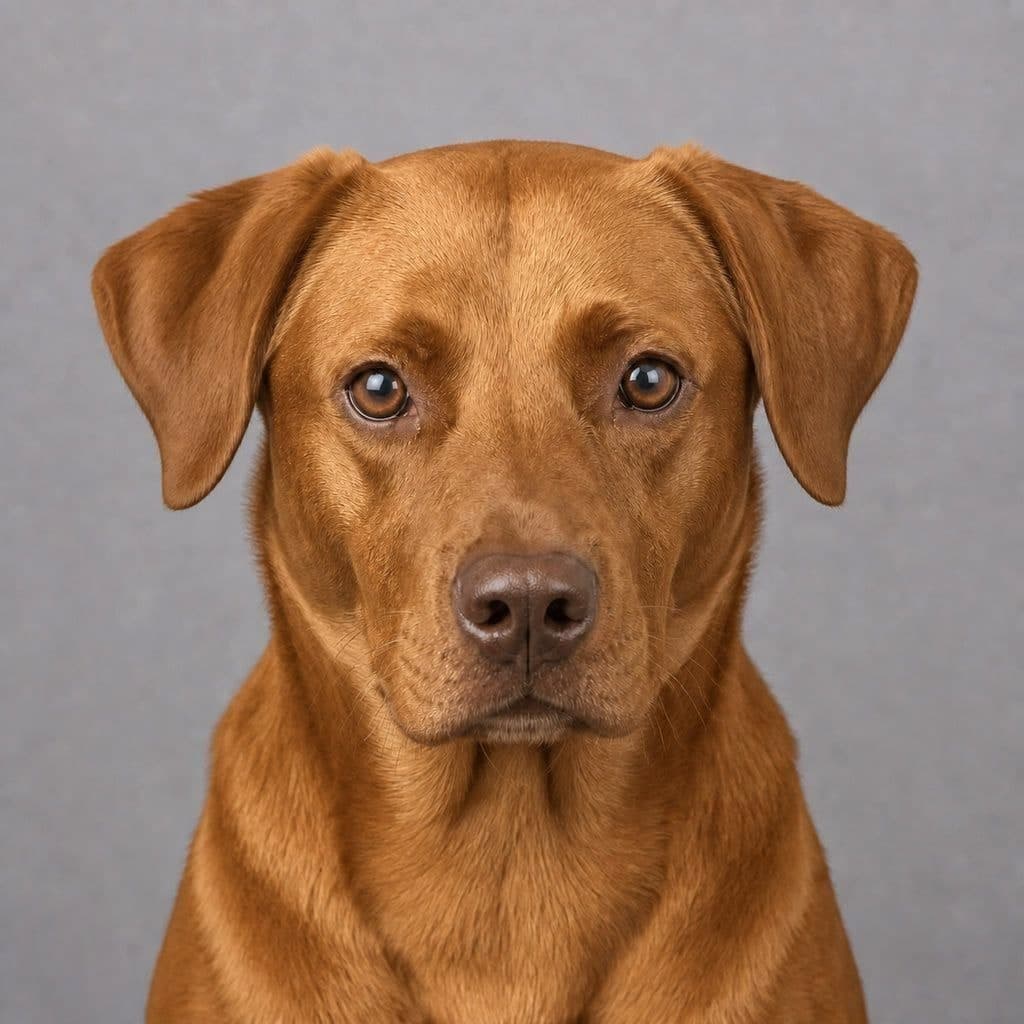
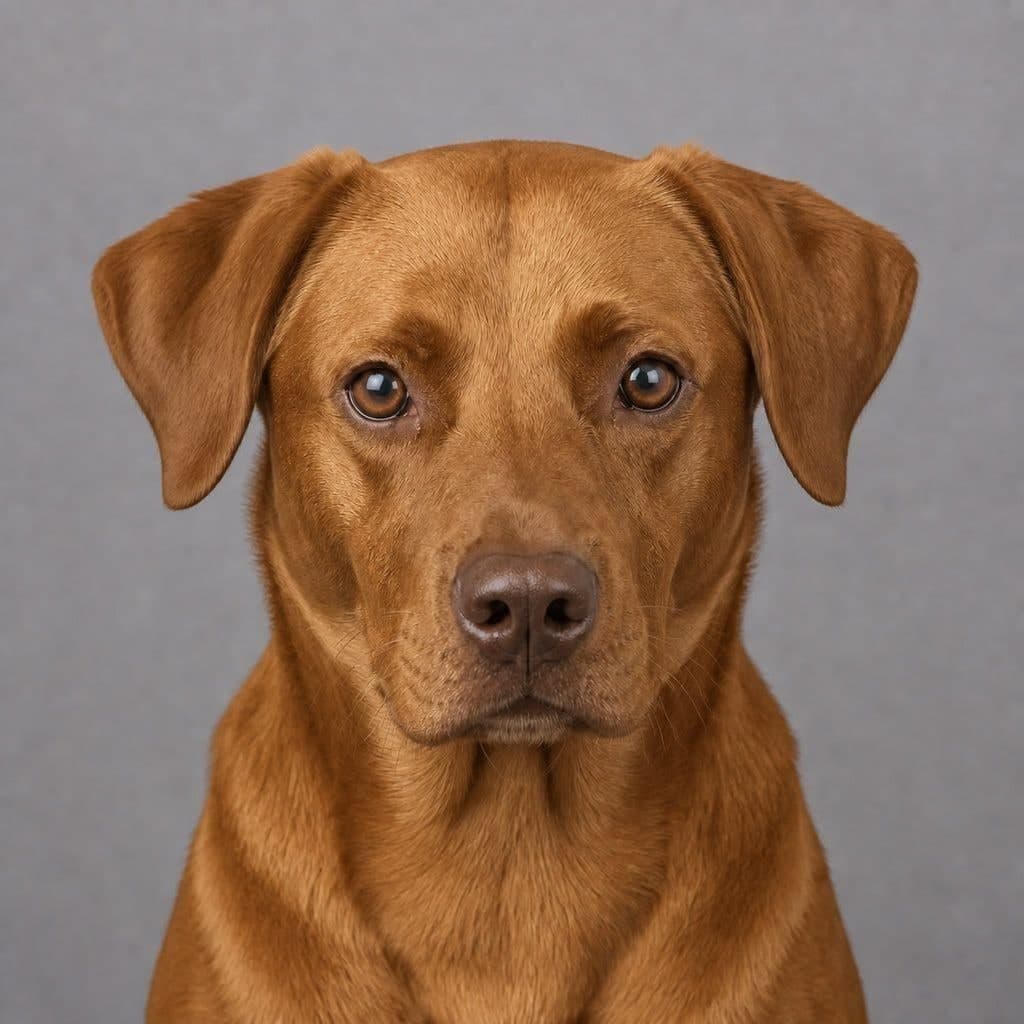
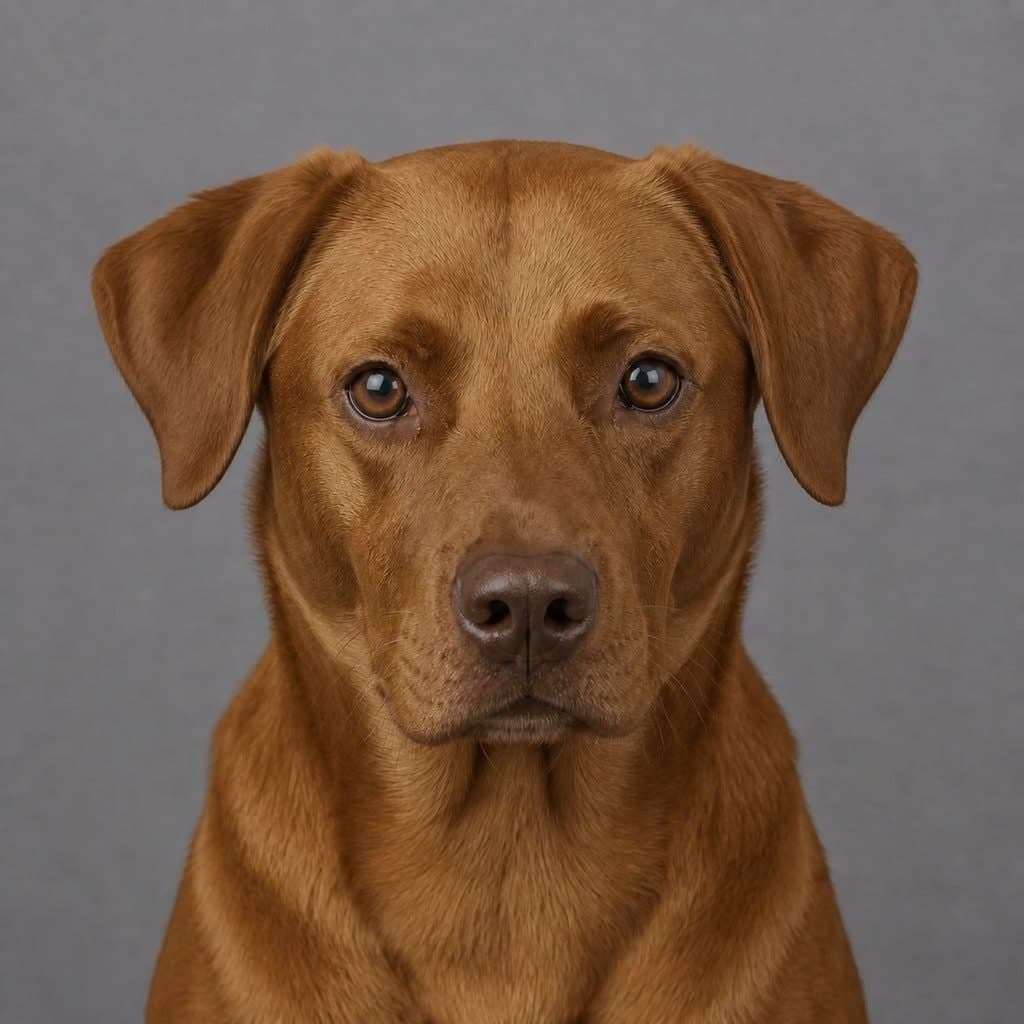
Exposure compensation, and it runs the way you would not guess
The fix is to overrule the meter, and the direction is counter-intuitive the first few times you do it. For a dark animal you go down, not up: telling the camera to make the picture darker is what lets black stay black. For a pale animal you go up, so white stays white instead of sinking to grey. On a phone this is the slider that appears beside the focus box when you tap and hold; on a camera it is the button marked with a plus and a minus.
Work by looking rather than by arithmetic. Take a frame, look at it, move the slider until the coat is the colour the animal actually is, and then leave it alone for the rest of the session as long as the light does not change. The common mistake is to nudge it a little, decide it did not help, and put it back — the adjustment that fixes a black coat is bigger than it feels like it ought to be.
There is one case this cannot fix, and it is the animal wearing both colours at once. A black-and-white coat holds more range than a camera can record in a single frame, so something has to give. Protect the white and let the black go properly black: a black patch with no detail in it reads as shadow, while a white patch with no detail reads as a hole burned through the picture.
| Coat | What comes out of the camera | What to do about it |
|---|---|---|
| Black, or very dark | A washed grey-brown animal with no depth in the fur | Darken by more than feels right, and light from the side so the texture survives |
| White or cream | A dull grey animal with flat, lifeless eyes | Brighten, then check the brightest fur still has some detail left in it |
| Ginger, tan, mid-brown | Usually close to right — the meter's guess happens to suit it | Leave the exposure alone and spend the animal's attention on framing instead |
| Grey, silver or blue | Slightly muddy, and carrying a colour cast from the room | Fix the room light first; the cast matters more here than the brightness does |
| Black and white together | One or the other holds detail, never both at once | Protect the white, let the black go black, and move to a softer light |
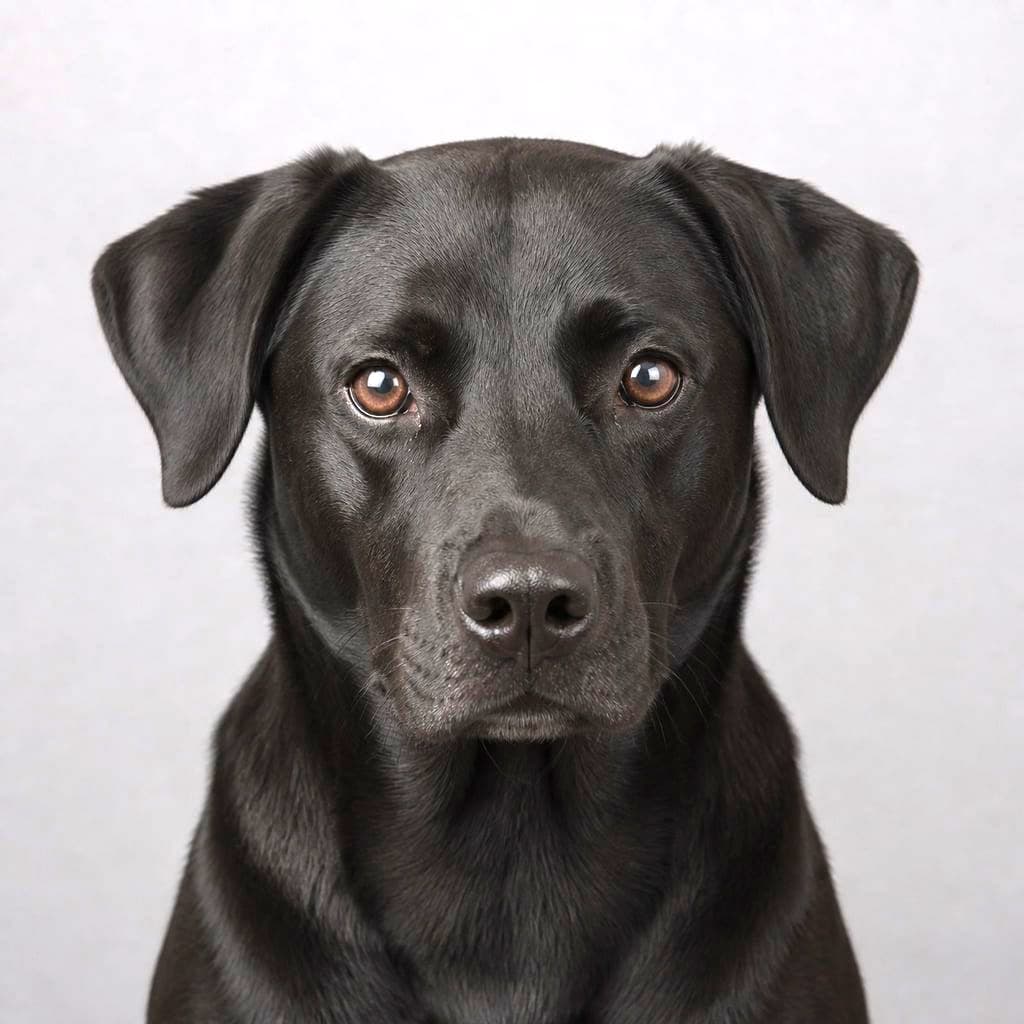
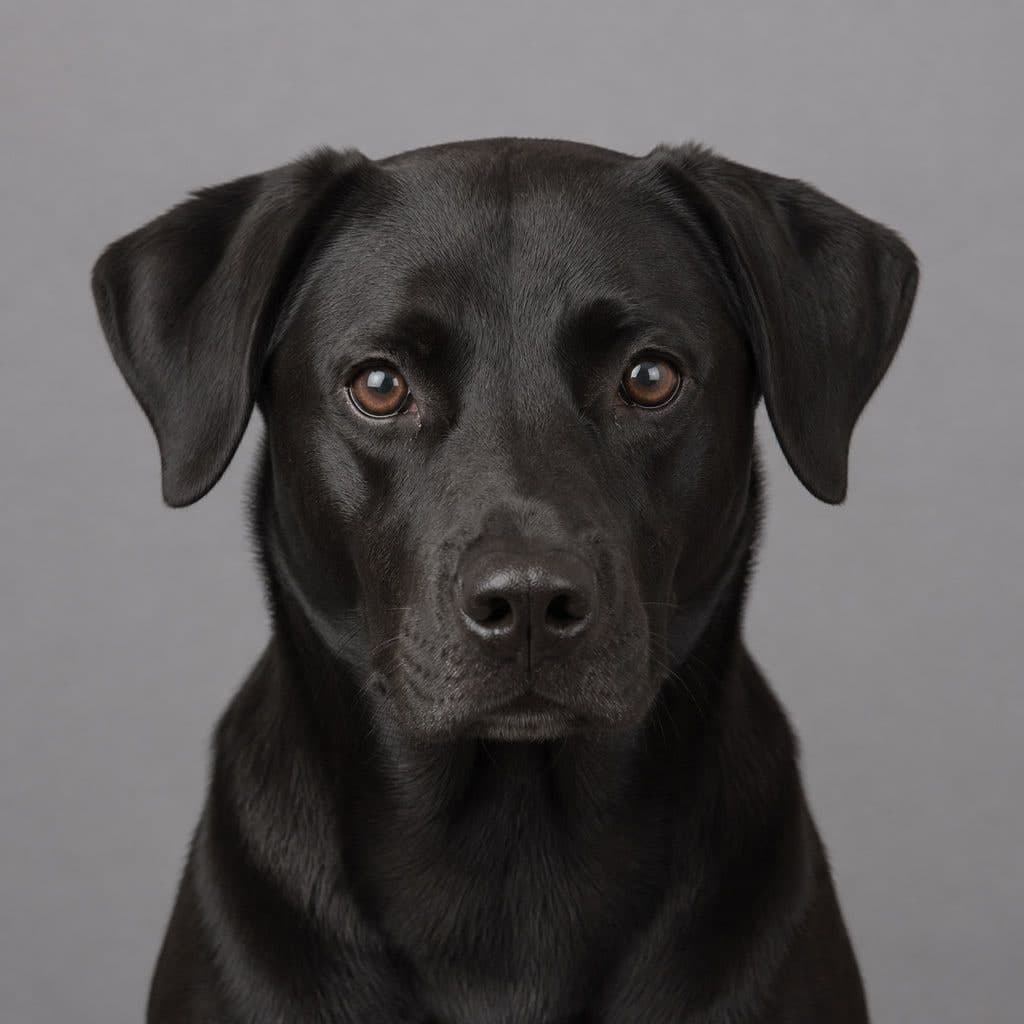
Dark coats need light that arrives from the side
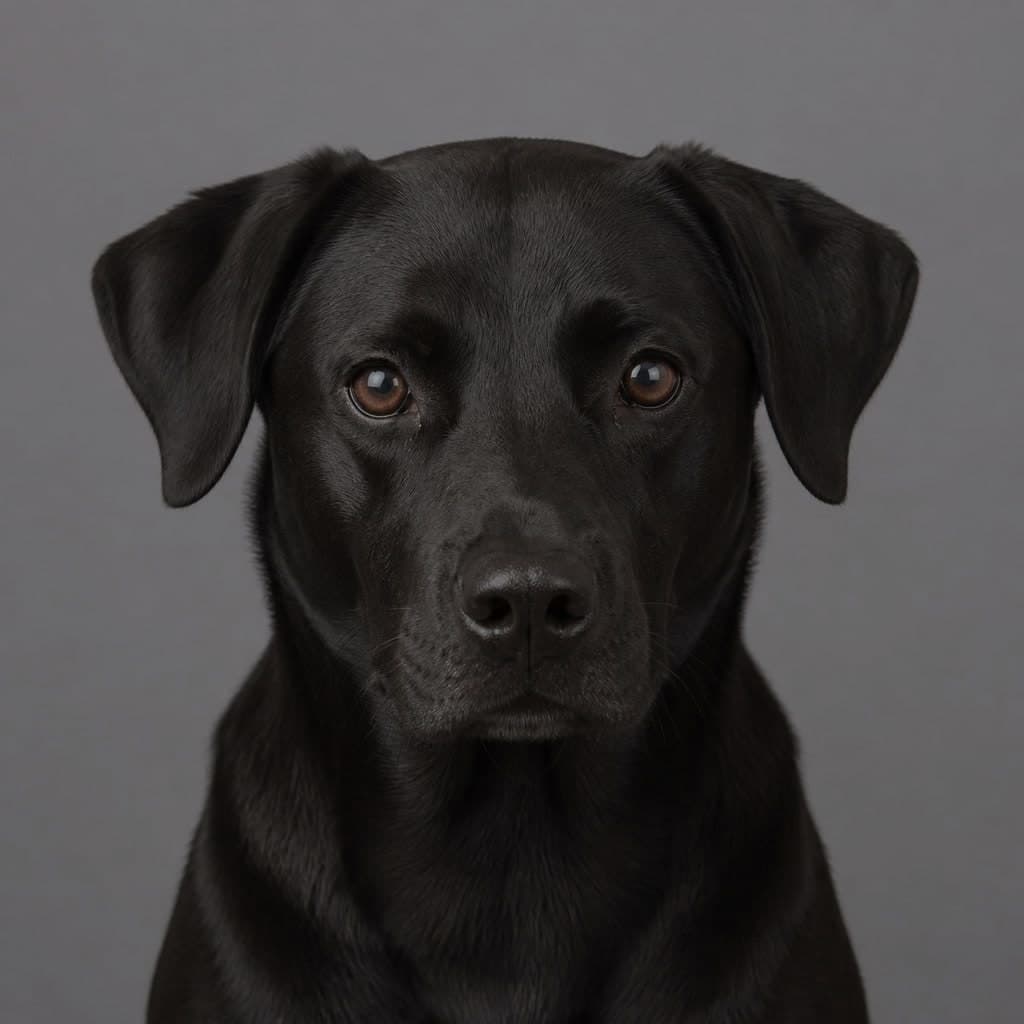
Exposure is only half of it. A black coat gives a camera almost no colour information to hold onto, so the only thing describing its shape is where the light falls across it. Light from directly in front lands on all of it equally and the animal becomes a silhouette with eyes in it. Light from one side rakes along the fur, catches the ridge of the shoulder and the direction the coat grows in, and the dog appears again.
In practice: turn the animal so the window sits at their shoulder rather than in front of their face, and look for the line where the lit side meets the shadowed side. That line is what people read as shape. A black dog on a dark sofa in a dim room is not a photograph anybody can save afterwards; the same dog with a window to their left and a pale wall behind them is straightforward. The full black-dog problem deserves a page of its own, because it is the most common complaint people have about photographs of their own animals.
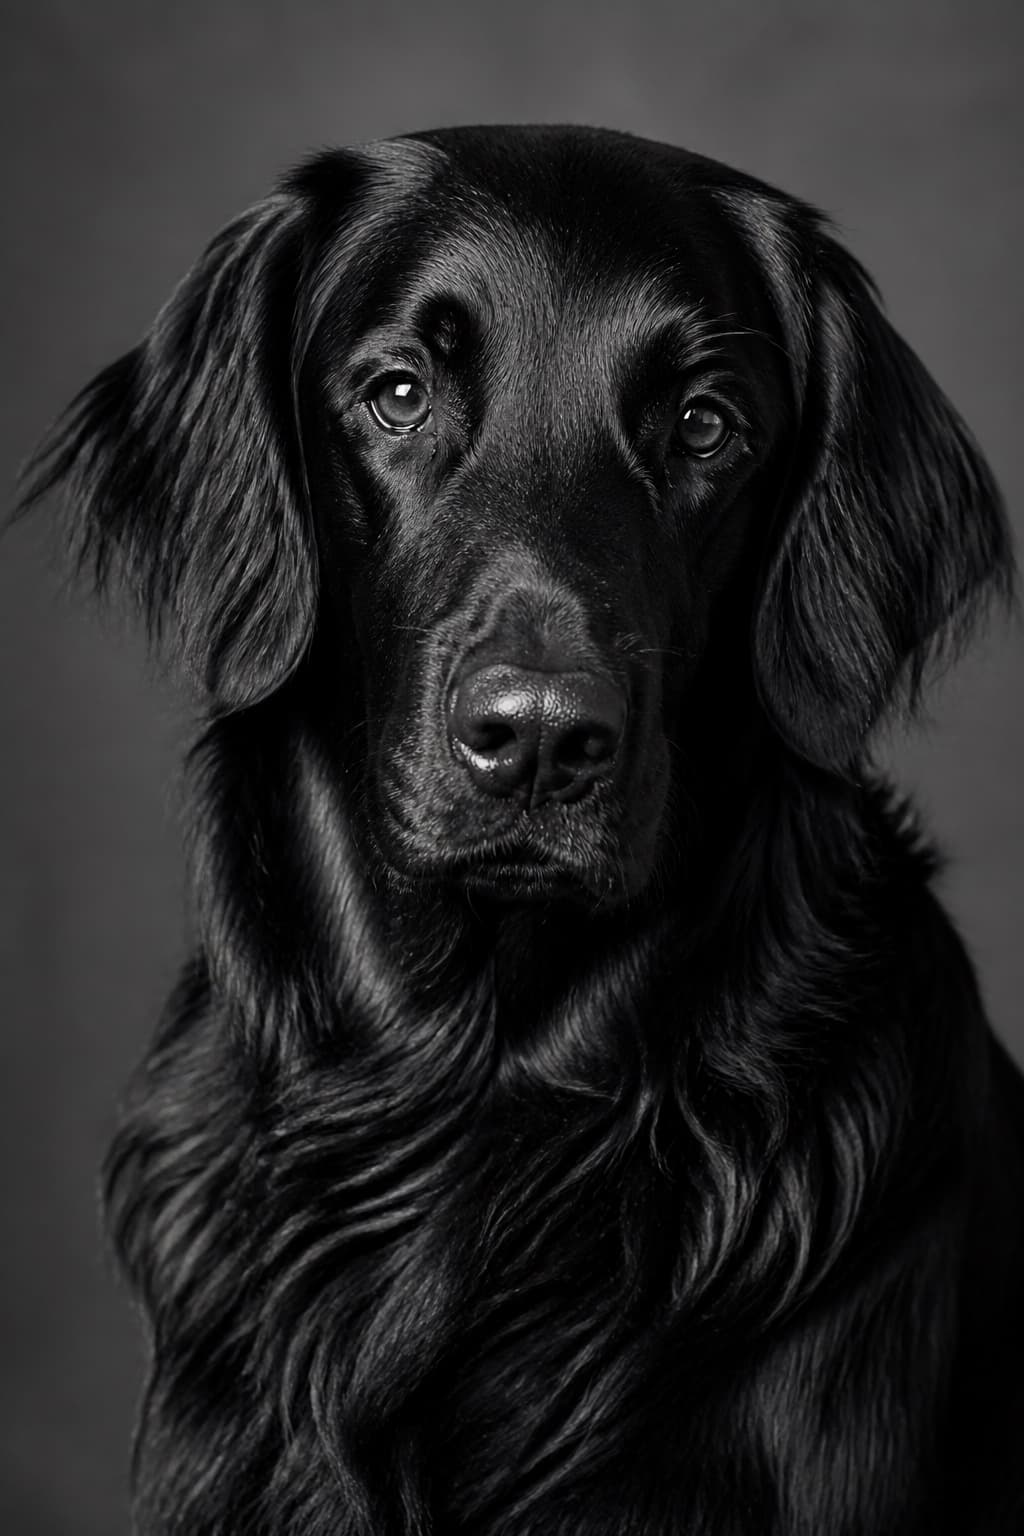
Black fur lit from the side rather than the front — the shoulder and the ridge of the muzzle are the only things left describing the shape of the animal.
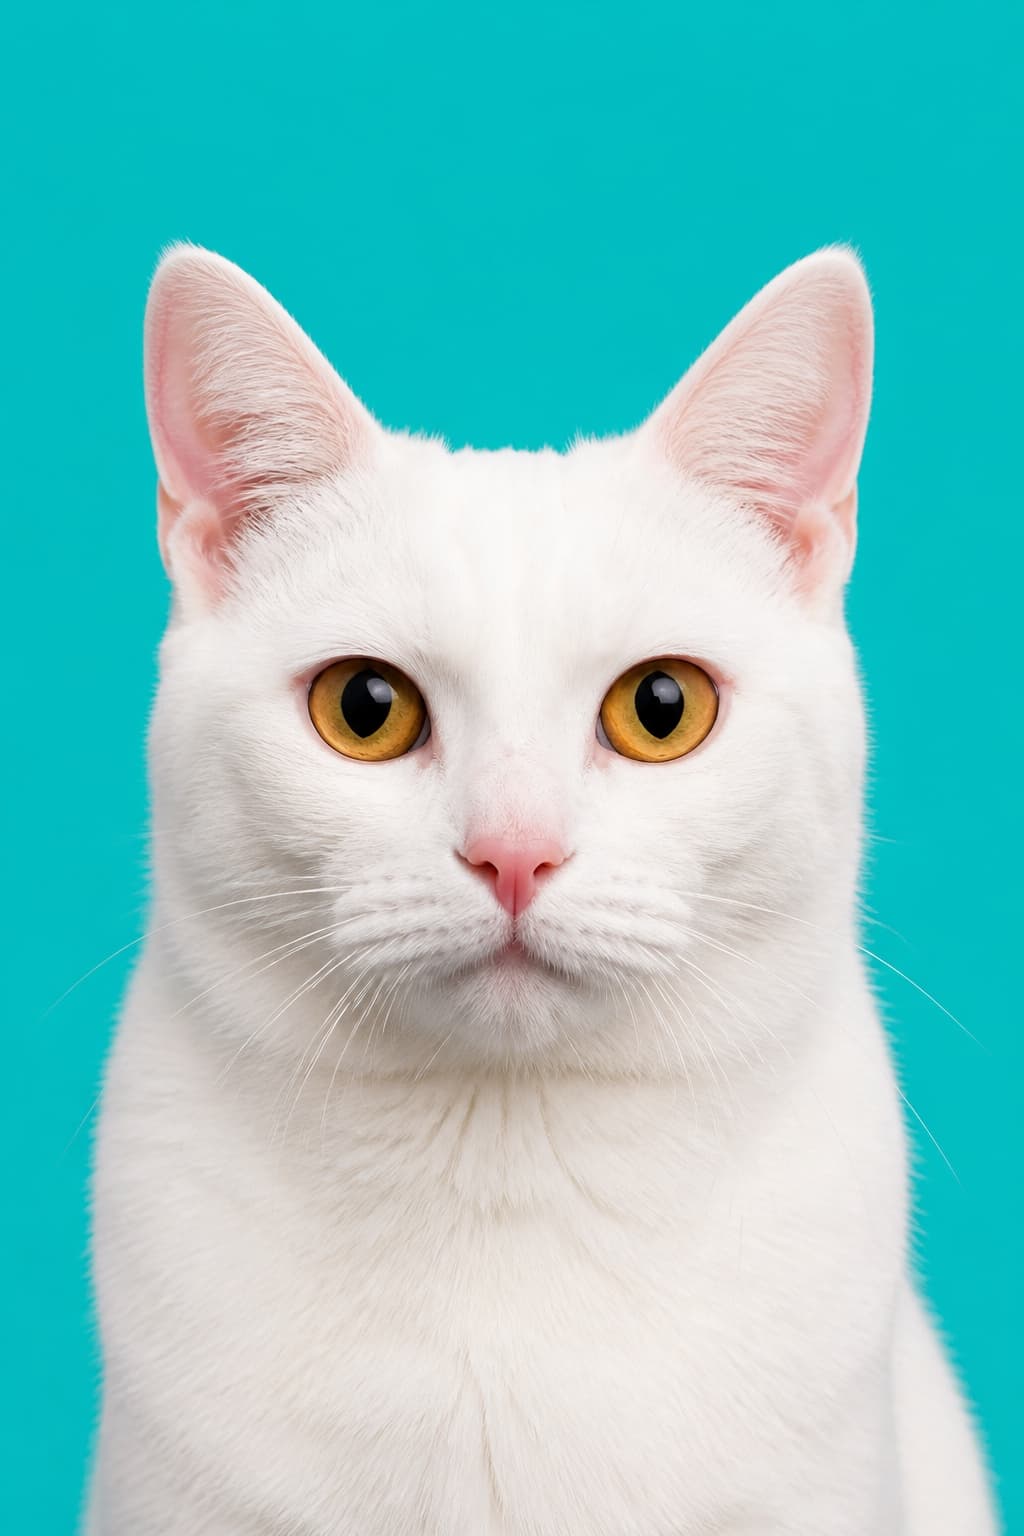
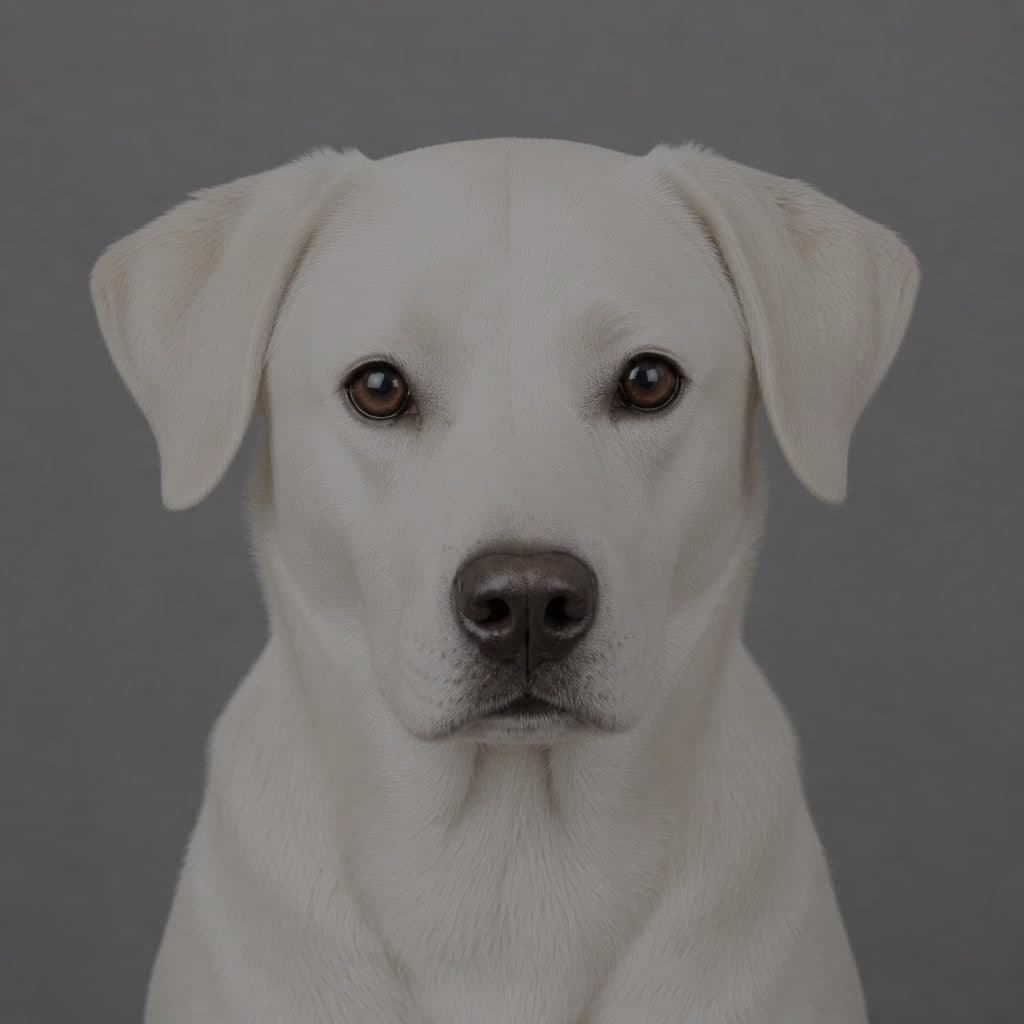
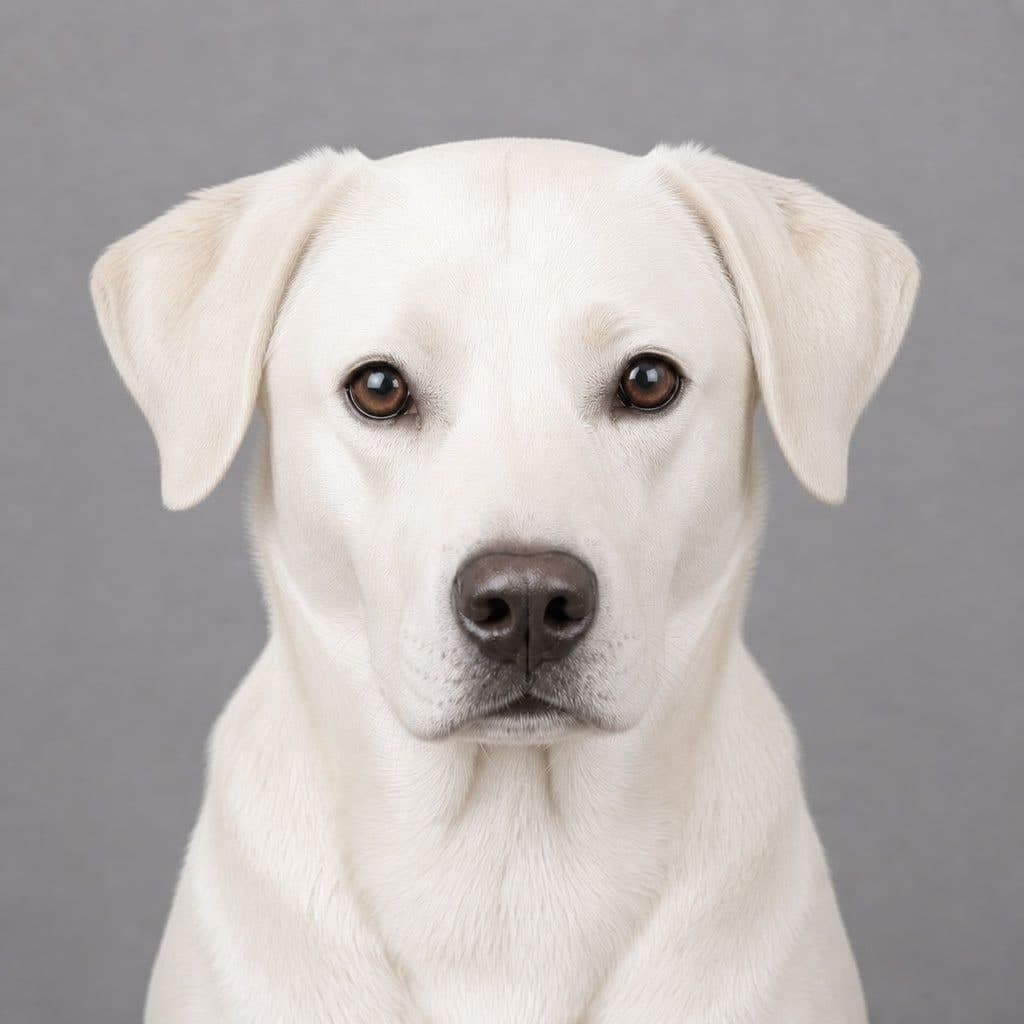
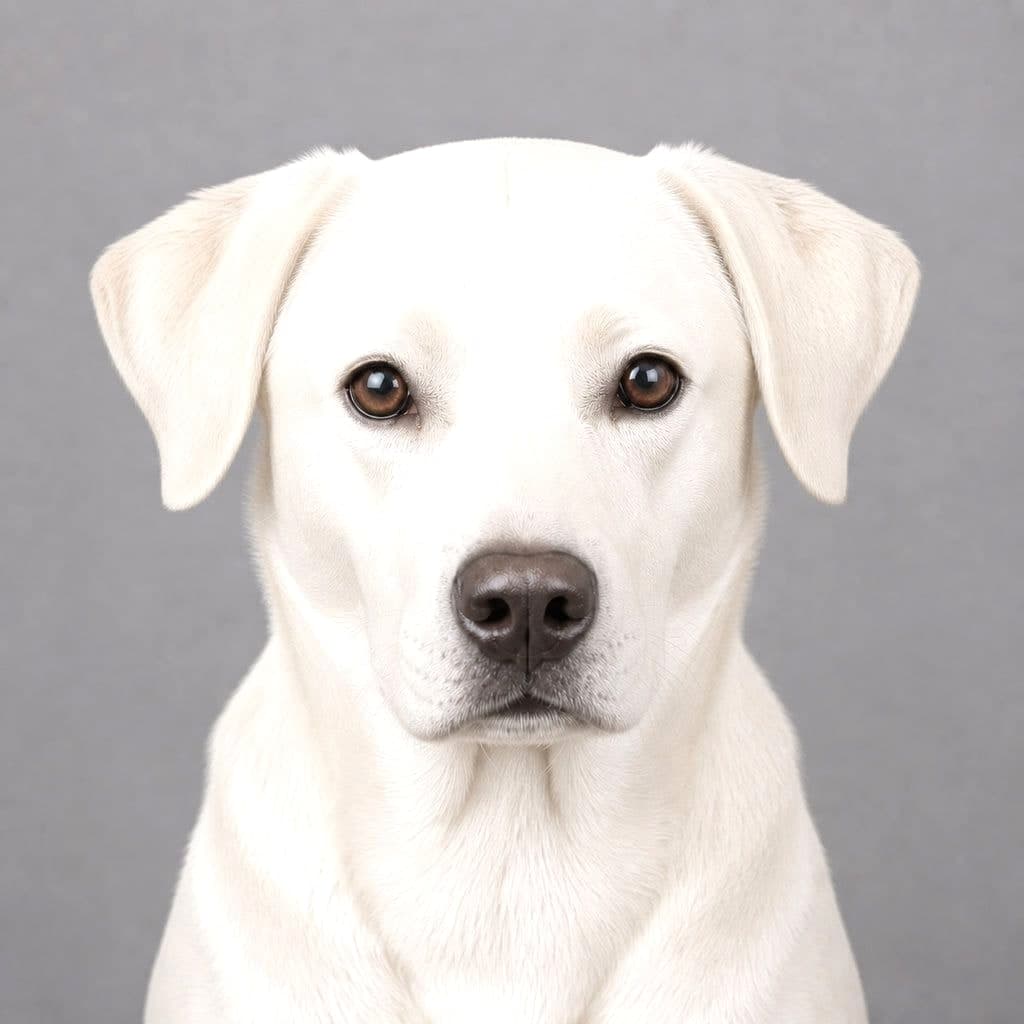
The opposite problem solved behind the animal instead of in front: a pale coat separates cleanly from a strong colour in a way it never will from a white wall.
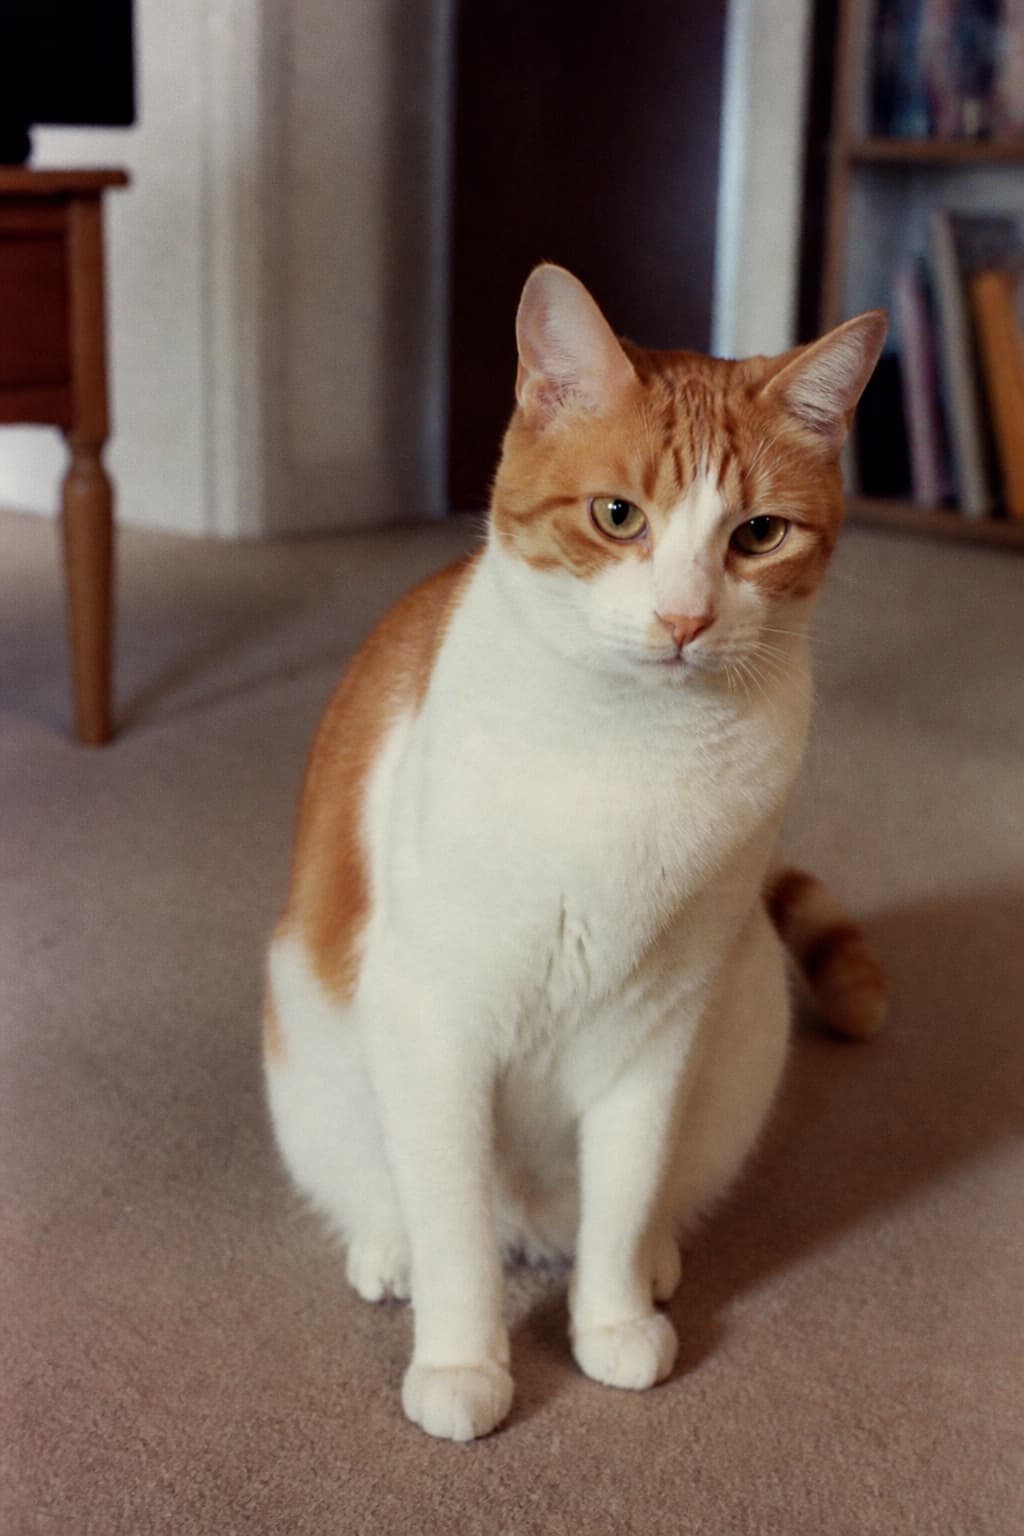
A pale coat exposed a little brighter than the meter wanted, which is why the whites here stay white instead of sinking towards grey.
Created with PetPhotos from a described animal, not a customer's photos. Not stock photography.
04
Framing at the animal's eye level
The one change that turns a snapshot into a portrait, and where the focus goes once you are down there.
Get down, all the way down
Most photographs of pets are taken from the height of a standing adult, pointing downwards, because that is where the camera already was. It is the viewpoint of somebody about to leave the room. It makes the head look large and the body look short, it fills the background with floor, and it puts the animal in the position they see you in a hundred times a day, which is why the result feels like nothing in particular.
Kneel, sit or lie down until the camera is level with their eyes, and the same animal in the same light becomes a portrait. The background changes from carpet to whatever is across the room, which you can then choose. The proportions come right. And the eye contact, when you get it, is level rather than downward — which is the difference between a picture of a dog and a picture of your dog.
For a small animal that means actually on the floor, chin near the carpet. It is undignified and it is the highest-value instruction in this guide. If getting down there is difficult, bring them up instead: a chair, a bed or a low table with something non-slip on it, and the camera at that height.
Focus on the nearest eye, every time
A photograph of an animal is sharp if the eyes are sharp and soft if they are not, whatever else in the frame is crisp. When the head is turned even slightly the two eyes sit at different distances and only one can be truly sharp; it is always the nearer one. On a phone that means tapping the near eye rather than the middle of the face. On a camera it means the smallest focus area you can select, placed there deliberately.
The nose is the trap. It is closer than the eyes, it is the highest-contrast thing on many faces, and automatic focus loves it. A picture focused on the nose of a long-muzzled dog has soft eyes and looks subtly wrong to everyone who sees it, without anybody being able to say why. Check the eyes on the first frame at full magnification, before you spend the animal's patience on another forty of the same thing.
Backgrounds are chosen with your feet
There is no background setting. There is only distance: the further the animal sits from whatever is behind them, the more out of focus it goes, and the less a radiator or a laundry basket costs you. Moving them two metres away from the wall does more for the picture than anything you can do to it afterwards, and it takes about four seconds to do.
Then look at what is actually behind the head before you take the frame rather than after. A door frame growing out of an ear, a bright window in the corner, a strong vertical line running through the skull — all of them are invisible while you are concentrating on the animal and unmissable in the photograph. Shifting your own position half a metre to one side makes most of them go away.
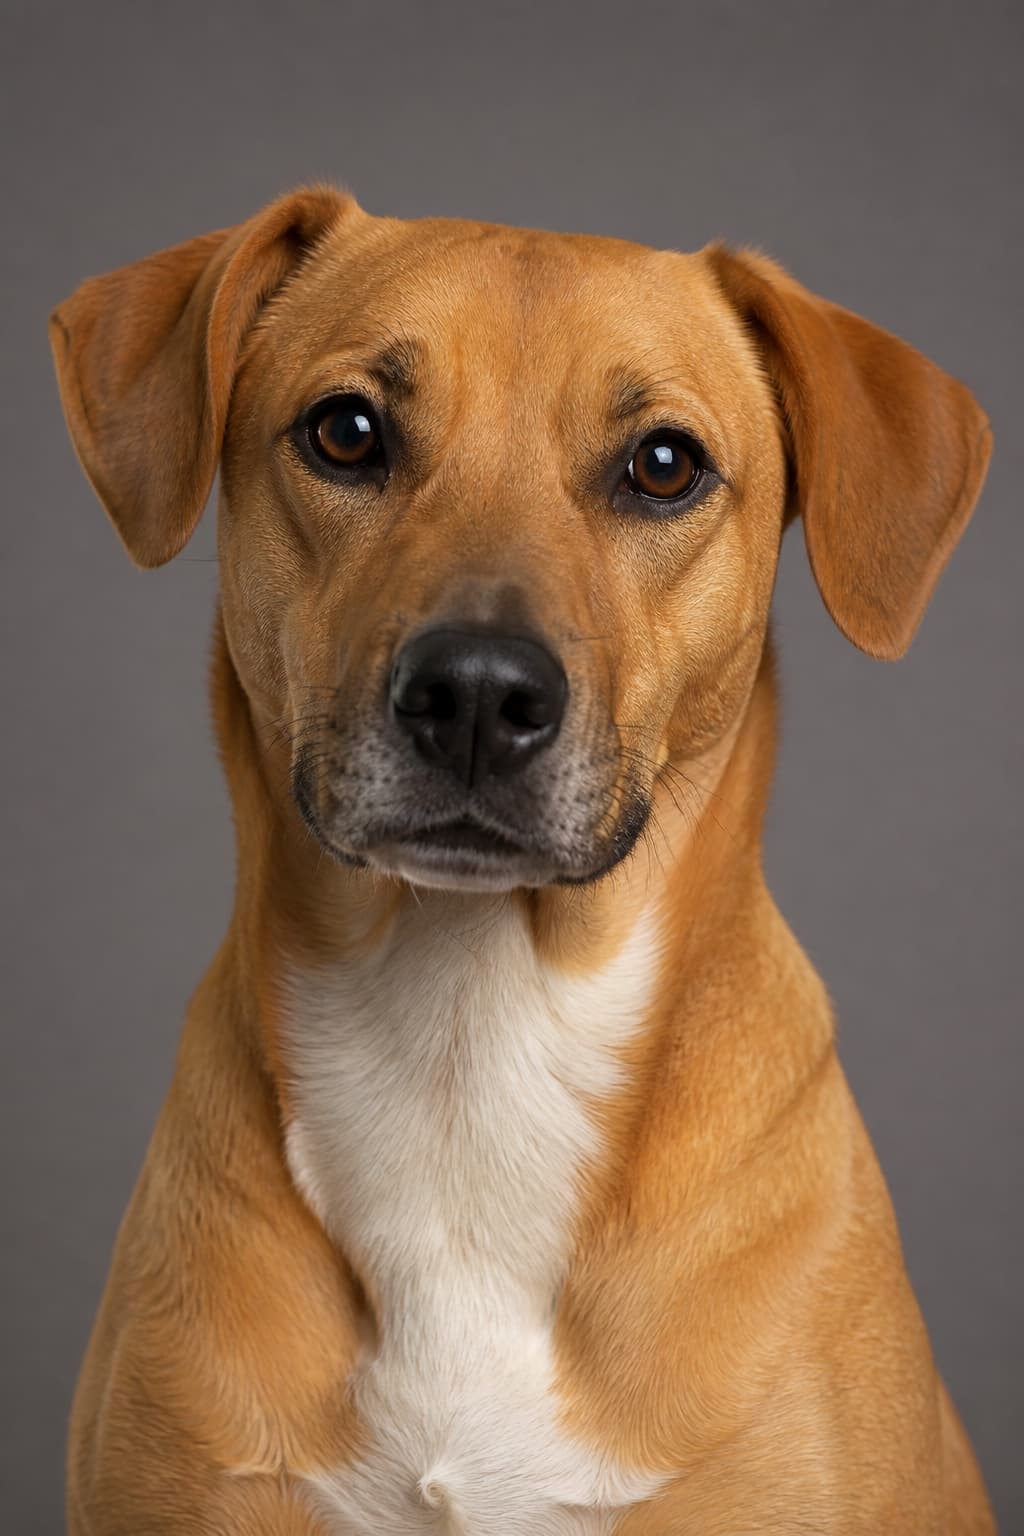
Taken level with the eyes rather than from above, which is why the head sits in proportion instead of looming towards the camera.
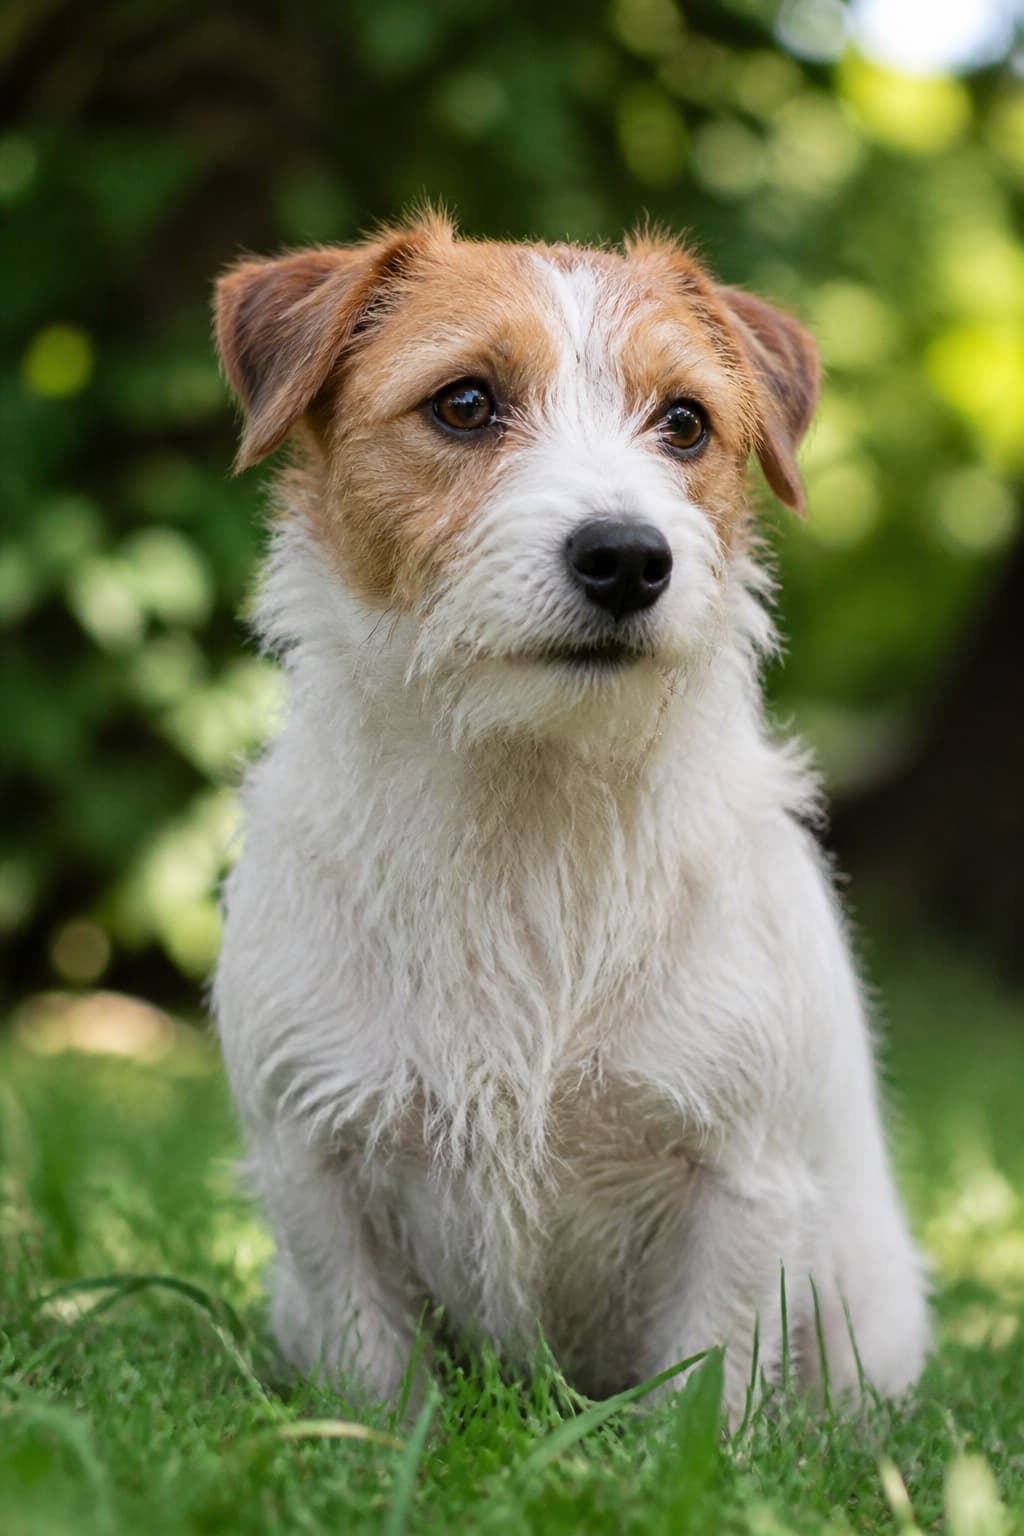
The hedge and the fence are far enough back to have become colour rather than objects — the same effect you get at home by walking the animal away from the wall.
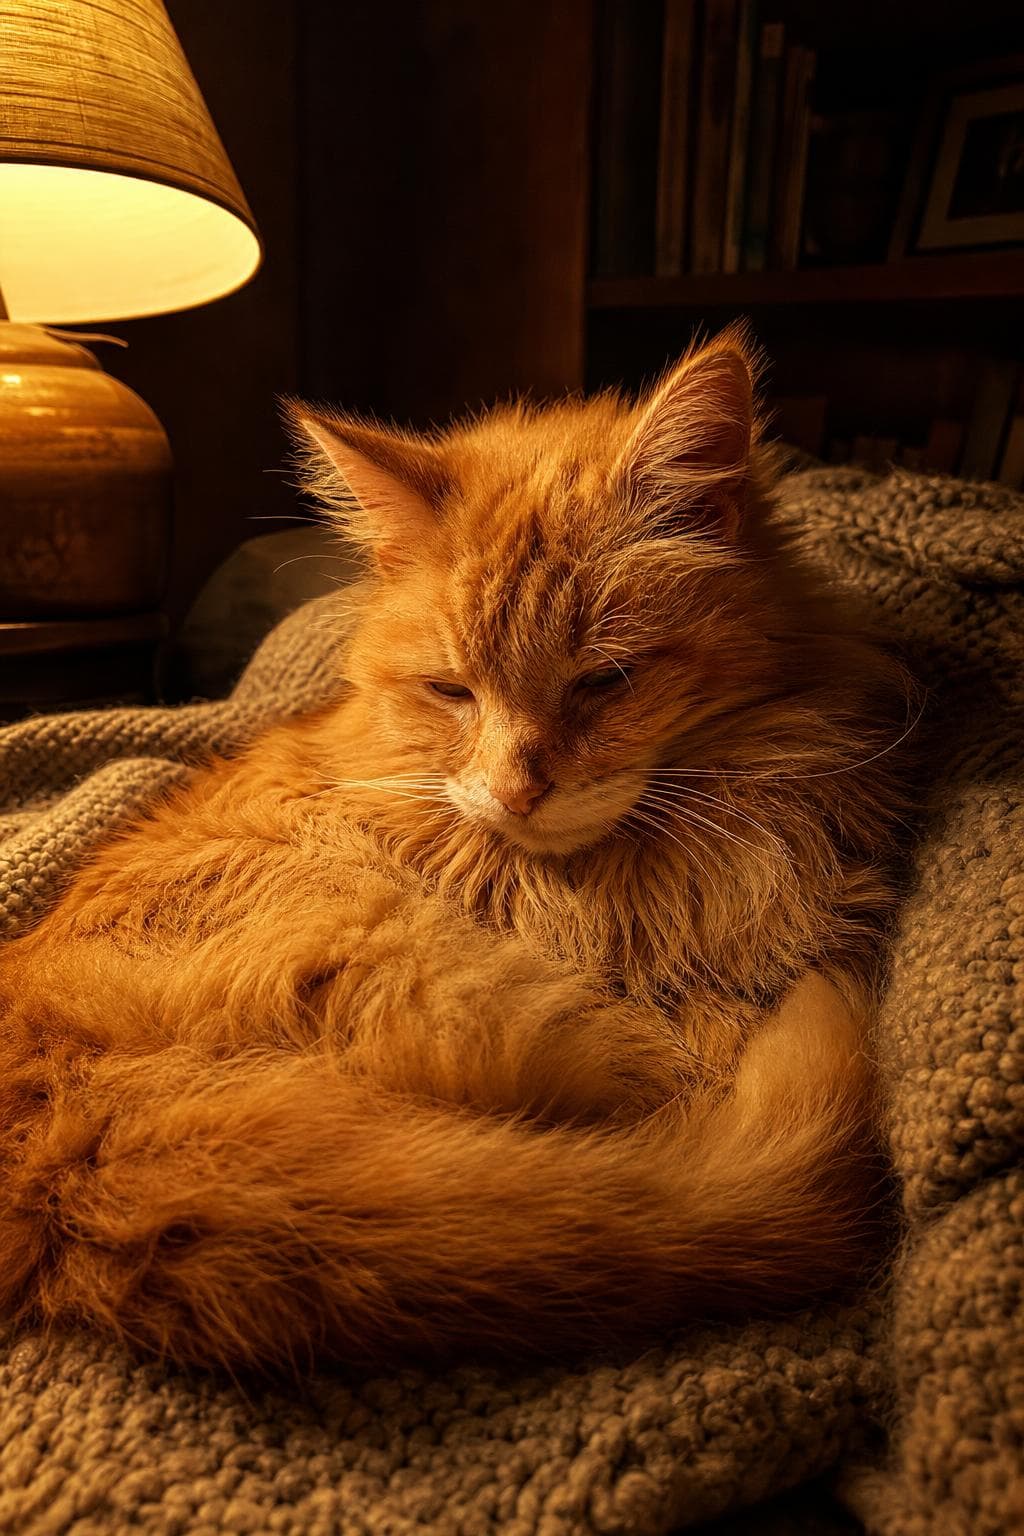
Floor level, close in, nothing asked of the animal: the eye-level rule is about where the camera goes, not about making them sit up straight.
Created with PetPhotos from a described animal, not a customer's photos. Not stock photography.
05
Phones, cameras, and which one is holding you back
An honest answer about equipment, the two settings worth changing, and the narrow case where a camera really does help.
A phone from the last few years is enough
This is the part of a guide where a page selling something would tell you what to buy. The truthful answer is that a phone from the last few years, held at floor level beside a window, beats a good camera used badly from the height of a standing adult, and it is not close. Everything in the first four chapters of this page is free, and nothing you can buy substitutes for any of it.
Phones are also genuinely good at the particular problem of a moving animal in reasonable light. They focus quickly, they will take a run of frames without being asked twice, and they make sensible decisions in a hurry, which matters more with a subject who has no intention of holding a pose. Where they struggle is a dim room, and the answer to a dim room was the first chapter.
The two settings worth changing
The first is the setting that blurs the background artificially. It is built around a human head and it treats fur as an edge case: it trims the tips of the ears, loses the whiskers, and cuts a soft halo around anything fluffy. Use the ordinary photograph setting and get the background blur the real way, by putting distance behind the animal. Apply the effect afterwards to a picture you already like, if you must apply it at all.
The second is anything that keeps the shutter fast. Most pet photographs that come out soft are not out of focus at all — they are motion, from a head that moved during a long exposure in a dim room, and no amount of holding still on your part fixes a subject who did not. Why pet photos come out blurry covers the two controls that address it directly; the shorter version is to add light before you change anything else.
- Turn off the artificial background blur, and move the animal away from the wall instead.
- Take a run of frames and cull it, rather than one careful picture at a time.
- Tap the near eye to set focus, then hold to lock it so it stops hunting.
- Clean the lens. It has been in a pocket, and a smeared lens looks exactly like soft focus.
- Avoid the digital zoom. Walk closer, or crop afterwards from a full-size frame.
Where a camera actually helps
There are three situations where a separate camera earns its place, and none of them is a sunny garden. The first is low light, where a larger sensor keeps the shutter fast enough to stop a moving head. The second is distance: a longer lens lets you photograph a nervous animal from across the room, which is often the only way to photograph a nervous animal at all. The third is focus that follows a running dog reliably, which phones are getting better at and are not there yet.
If you already own one, the settings that matter are a wide aperture, a shutter fast enough that a shake of the head does not smear, and the focus mode that tracks a moving subject rather than locking once and staying there. If you do not own one, the honest advice is that a second person making noises beside the camera will improve your photographs more than a lens would, and costs nothing at all.
06
What to do with the photographs afterwards
Culling while you still remember, keeping the originals safe, and what makes a set worth more than its best single frame.
Cull the same day
Take a lot and keep few. A session that produced two hundred frames has perhaps six worth keeping and one worth printing, and that ratio is normal rather than a sign you did badly. Go through them the same day, while you still remember which of the near-identical frames was the one where they were actually looking at you. In a week they all look the same, and a set nobody sorted never gets sorted.
Judge on the eyes first — sharp, lit, with a catchlight in them — then on the expression, and only then on everything else. A frame with an awkward background and a perfect expression is a keeper; a beautifully composed frame with dead eyes is not. Be ruthless about near-duplicates. Six good photographs that are each different is a better record of an animal than sixty that are almost the same.
Keep the originals, somewhere that is not only the phone
The originals hold the most information, and every time a picture goes through a messaging app it comes out the other side smaller and softer than it went in. Keep the full-size files, and keep at least one copy of them somewhere that is not the device you took them on. Phones get lost, dropped and replaced, and a folder on a computer plus a copy in whatever cloud storage you already pay for is the difference between having these pictures in ten years and not having them.
This matters more for animals than it does for most subjects, because the photographs you will want most are almost always the ones you took casually, of an animal who is no longer around to be photographed again. There is no second session. That is the whole argument for keeping the full-size originals of an ordinary Tuesday afternoon, rather than only the six frames you happened to think were good at the time. The rest of that job — gathering, backing up, and what to do with the folder afterwards — is what to do with the photos after a pet dies.
What a good set looks like, and what to do with one
If you are photographing with something specific in mind — a print for a wall, a card, a keepsake for somebody else — what you want is variety rather than volume. A close portrait at eye level, a full-body picture with room around them, one in profile, one lying down, one from the day they came home filthy. Different light, different rooms, different days. A set like that carries the animal's character; twenty frames from one afternoon carry one afternoon. The checklist version of the same idea, written for anyone about to hand a set over, is what makes a good photo to upload.
That same variety is what any portrait made from your photographs needs, which is the one commercial thing this page has to say. If you want to see what a set of your own pictures becomes, the free preview makes one portrait from them and costs nothing. And if what you actually wanted was a better photograph of your own animal, the first four chapters were the answer, and you do not need us for it.
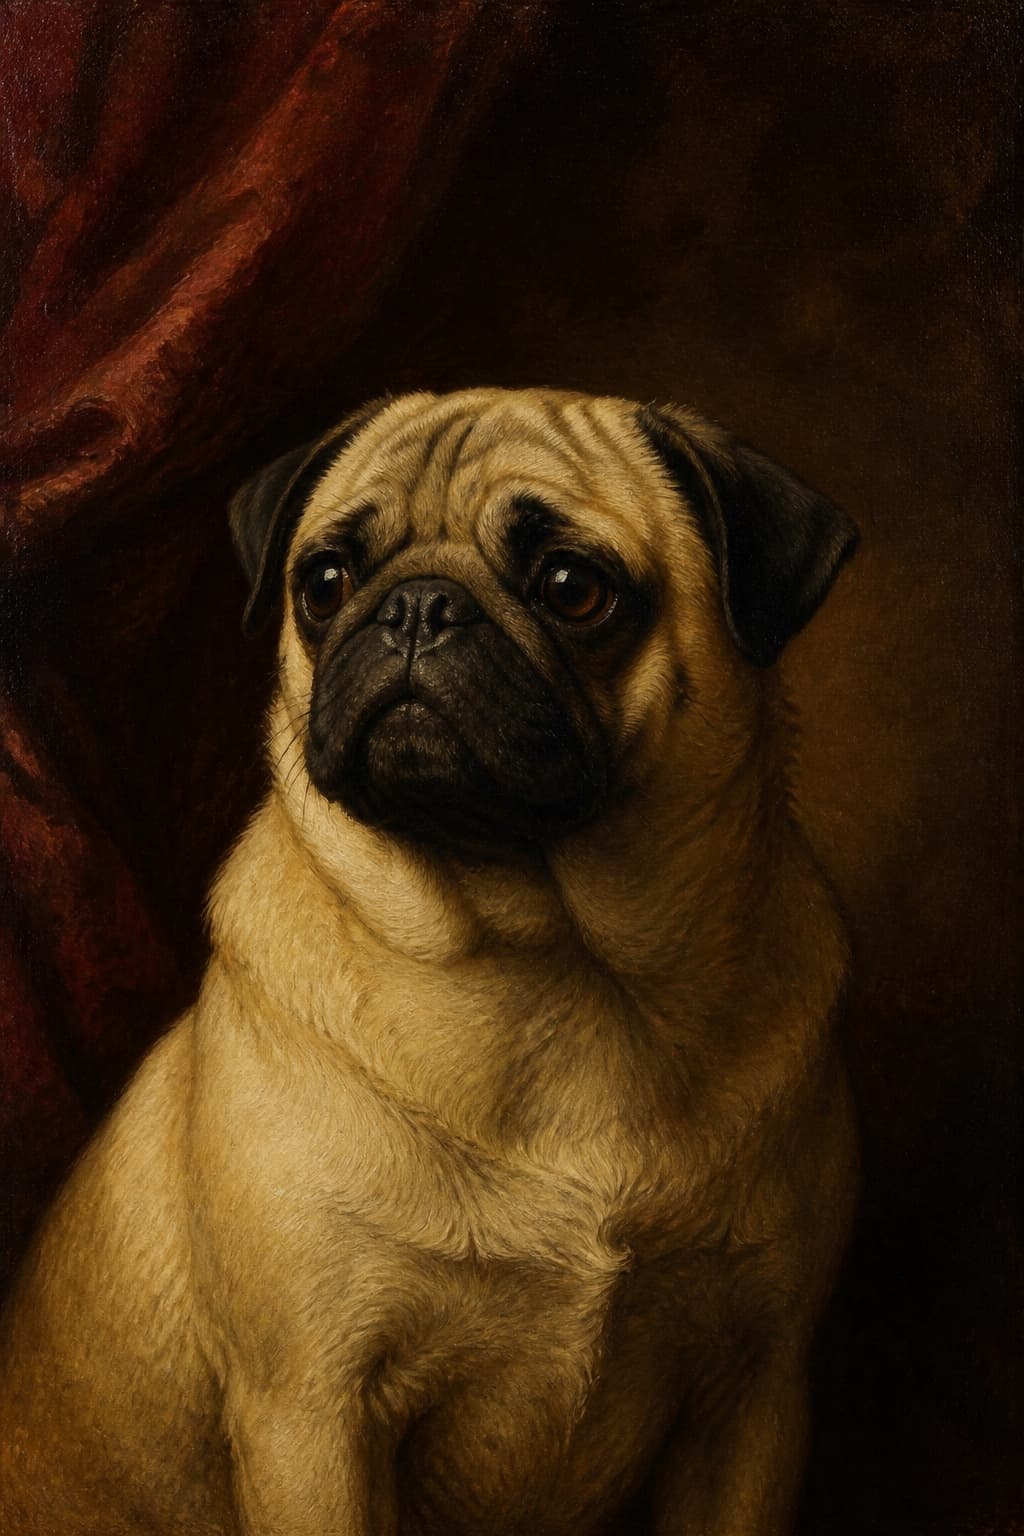
Made from ordinary photographs taken at home, which is rather the point — the source material was somebody's phone next to a window, not a studio booking.
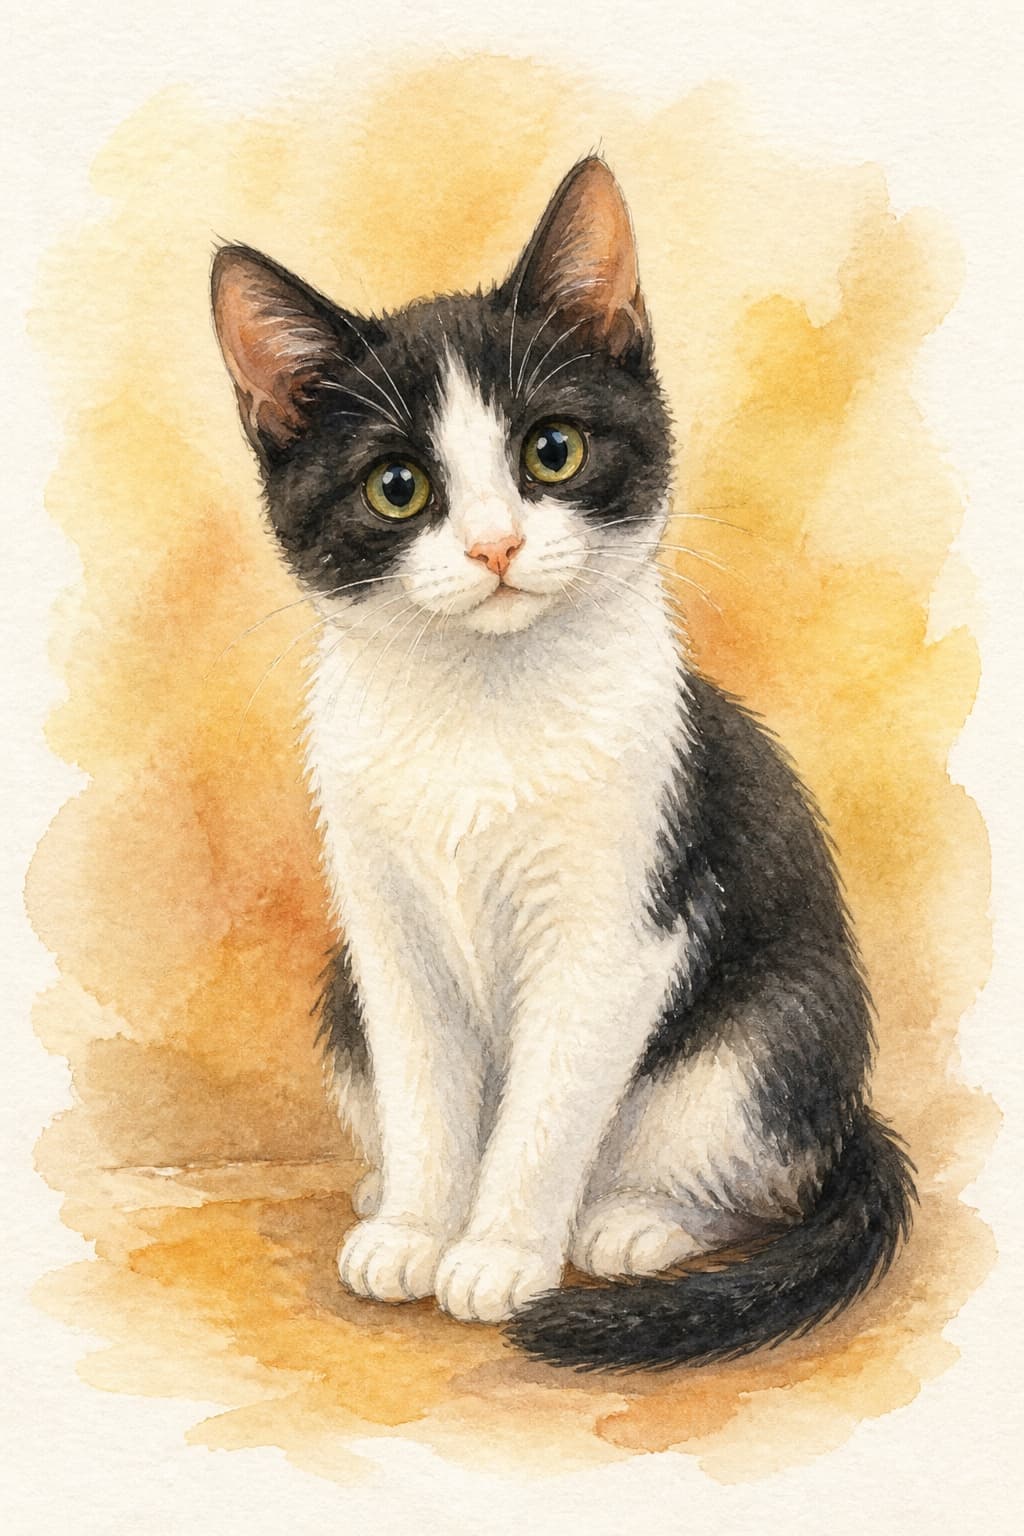
The same set of photographs used a second way. One good set is worth more than one good frame because it can become several different things.
Created with PetPhotos from a described animal, not a customer's photos. Not stock photography.
Sources
- ASPCA Animal Poison Control(opens in a new tab)
Cited in the chapter on holding an animal's attention, for checking any human food used as a lure before it is offered rather than afterwards.
Prices and specifications change. Everything quoted here was checked against the live pages on September 1, 2026; if you spot something out of date, tell us and we'll fix it.