Cat photos at home without a flash
Turn the flash off and use one window instead. Photograph in the brightest part of the day, put the cat within about a metre of the glass with the light coming across them, and let the room behind fall darker than the cat. Then hold very still, because indoors the camera will keep the shutter open longer than you expect. Nothing here needs equipment.
In short
- The built-in flash is the worst light in the house and the one thing you should switch off first.
- Photograph within about a metre of the largest window, in the brightest part of the day, with the room lights off.
- Side light gives a cat's face shape; light from behind you flattens it.
- Let the room behind stay dark rather than lifting it afterwards, and brace the camera against something solid.
- Clear the half metre directly behind the cat before you worry about anything else.
What the flash actually does to a cat
A small flash sits a few centimetres from the lens, which means it lights everything from the viewer's exact position. Whiskers cast no shadow, the fur along the flank goes flat, and the background behind the cat drops into a dark hole because the light falls away so quickly. It is the least flattering light a room can produce, and it is the one the camera reaches for automatically indoors.
It also does something specific to cats. The layer behind a cat's retina that lets them see in near darkness throws light straight back at the camera, so a frontal flash returns eyes that glow rather than eyes that look at you. And most cats blink, flinch or leave, which means the photograph after the flash is worse than the photograph before it.
The good news is that the alternative is already in the room. A window is a very large, very soft light source, and it is free. The general principles are in the guide to photographing your pet; what follows is the indoor cat version, where the light is dimmer and the subject moves whenever it wants to.
Find the window, then find the hour
Pick the largest window in the house and photograph within a metre or so of it. Light falls off sharply as you move away from a window, so the difference between sitting beside the glass and sitting in the middle of the same room is enormous, even though your eyes adapt and tell you the room is evenly lit. It is not.
Then pick the time. A north-facing window on an overcast afternoon gives soft, even light with no hard edges, which suits a cat's face and does not blow out a white chest. Direct sun through the glass is harsher and can be lovely, but it makes hard shadows and a bright patch the cat will immediately go and lie in, at which point the photograph takes itself.
Turn the room lights off while you are at it. Mixing a warm bulb with cool daylight leaves the camera guessing at the colour, and it usually resolves the argument by making the cat slightly orange on one side and slightly blue on the other.
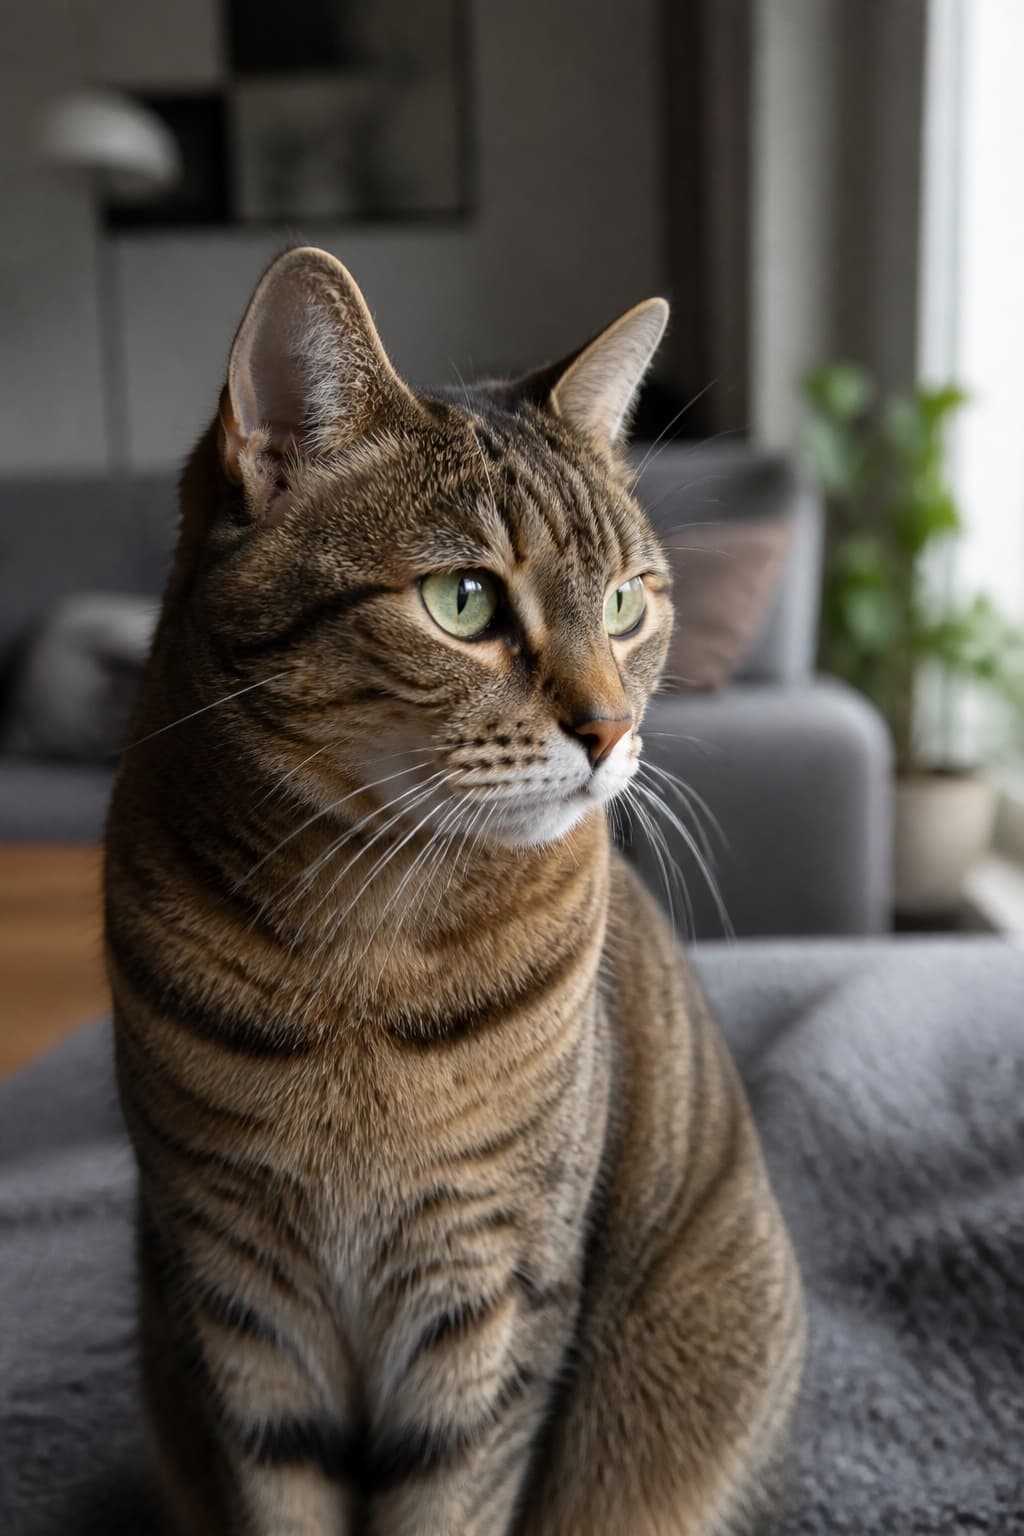
The exact arrangement described above: one window off to the side, the cat close to it, and the rest of the room allowed to go soft and unimportant behind.
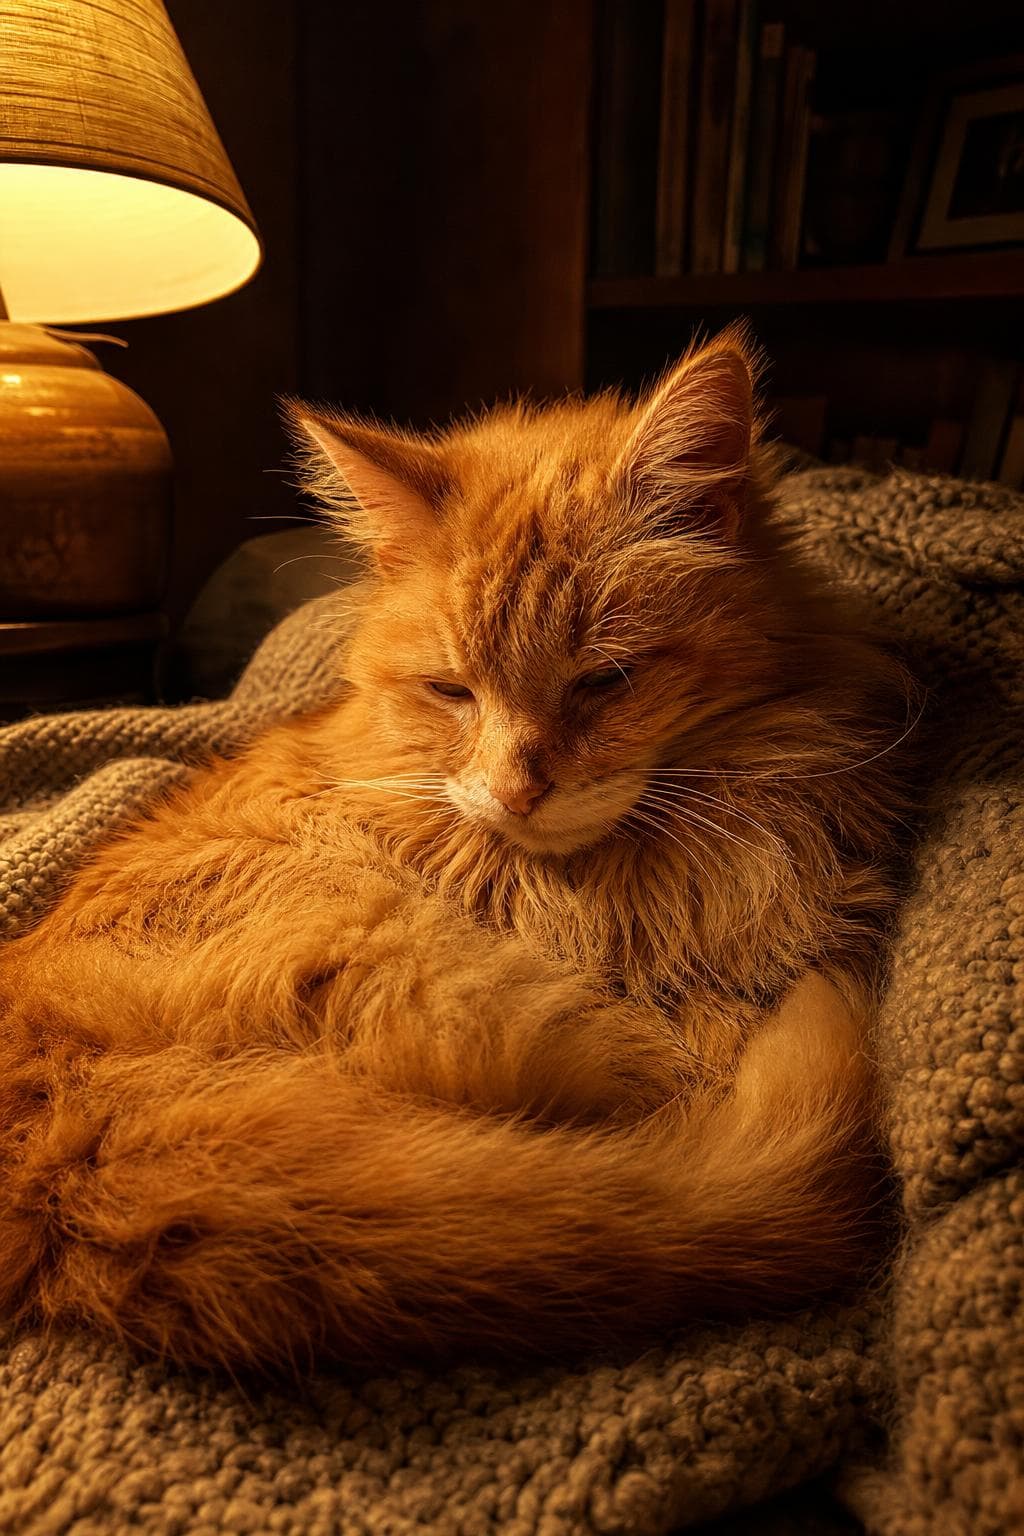
What a single low lamp does when you stop fighting it — warm, close and shadowed, which suits a sleeping cat far better than an evenly lit room would.
Created with PetPhotos from a described animal, not a customer's photos. Not stock photography.
Move yourself, not the cat
Cats do not get placed. They get followed. So rather than carrying the animal to the light, learn where the light is good at which hour and photograph them when they choose to be there, which for most cats is more predictable than it sounds because they are already following the warm patches around the house.
Once you are there, walk a half circle around them and watch what the light does. With the window behind you the face is flat and evenly lit. With the window off to one side the whiskers and the fur along the cheek pick up an edge and the face gains depth. With the window behind the cat you get a rim of light through the ears, which is the prettiest option and the one that needs you to add exposure by hand so the face does not go black.
- Window behind you: even, safe, slightly flat.
- Window to one side: the most shape, and the option to try first.
- Window behind the cat: glowing ears and whiskers, but raise the exposure or lose the face.
- Get down to the height of the cat, which usually means lying on the floor.
Hold still, and let the room be dim
Without a flash the camera compensates for a dim room by holding the shutter open longer, and a longer exposure is why so many indoor cat photographs are soft. Brace your elbows against your ribs, rest the camera on a shelf or the arm of a chair, breathe out, and take the photograph at the end of the breath rather than in the middle of it.
Resist the urge to brighten the whole room in editing afterwards. An indoor photograph is allowed to look like an indoor photograph, and a background that stays dark makes a cat lit by one window look deliberate rather than underexposed. If your frames are consistently soft rather than dark, that is a different fault with a different fix, set out in why pet photos come out blurry.
Black cats need everything in this article and then a little more, for the same reason described in how to photograph a black dog: the camera meters for the average and a dark coat drags it down. The window-to-one-side position is the one that saves them.
Tidy the half metre behind them
The fastest improvement in any indoor pet photograph is not a setting. It is moving the laundry basket. A cat is small in the frame, the room is large, and everything else in shot is competing with them for a viewer's attention, usually successfully.
You do not have to tidy the house. Tidy the half metre directly behind the animal, get low so that the background becomes the far wall rather than the whole floor, and step closer so the cat fills more of the frame. Those three moves together do more than any editing afterwards, and they cost nothing.
What you end up with is a set of honest, well-lit frames of a cat in their own house, which is exactly what anything downstream wants to start from, whether that is a print for the hallway or the cat portraits we make from your own photographs. If you want to see what the same light looks like taken further, the Film style is built on the grain and the faded colour that an indoor snapshot already has.